I am grateful for the patience pipemen and women have had waiting for their commissioned pipes to reach the worktable! My wife and I returned from an extended trip east pulling our 20’ travel trailer. Visiting family was a highlight. We visited them in Texas, Mississippi and Tennessee. As we traveled we enjoyed a few days in Hot Springs, Arkansas and yes we took advantage of the historic hot spring baths while there. I also was surprised by something I discovered when we toured the historic city of Nachez on the Mississippi River in the state of Mississippi. One of the most beautiful antebellum homes in the city that we toured carries my name – Stanton Hall. I couldn’t resist a selfie😊.

Pipeman Richard of Henderson, Tennessee reached out to me regarding his Barontini that needed some TLC. As a fairly new pipeman, I enjoyed hearing about how Richard found pipes as a hobby. As a former Baptist now Anglican, he described the words attributed to the well-known G.K. Chesterton, “In Catholicism the pipe, the pint, and the cross can fit together.” This statement, whether attributed to Chesterton or his good friend and writer, Catholic Hilaire Belloc, I would agree with Richard that the statement is not exclusive for Catholics! I, as a Presbyterian, also enjoy the leaf and a pint (or even some brown water) at times! Richard also shared that before he discovered pipedom that he questioned tobacco usage:
I was actually staunchly against tobacco usage but discovered piping as a really peaceful and relaxing hobby. I also like to think I’m in good company as one of my favorite authors and fellow Christian, C.S. Lewis, along with his friend Tolkien were both pipers.

When one considers men whose thoughts, imaginations and subsequent writings have been culture influencers, these men are arguably among the most important.
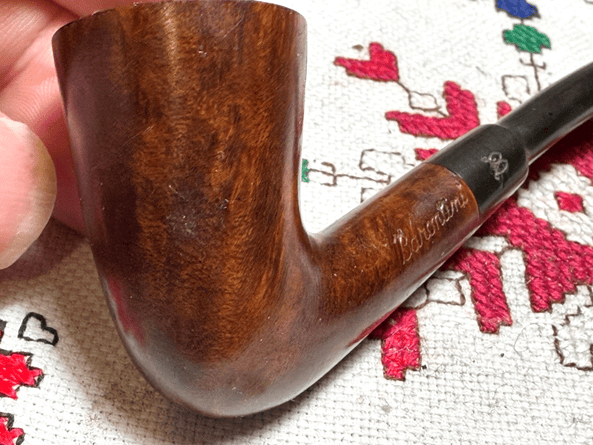
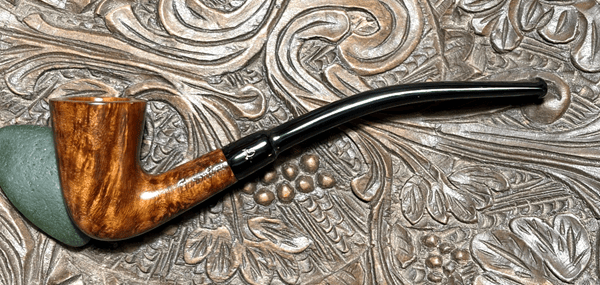
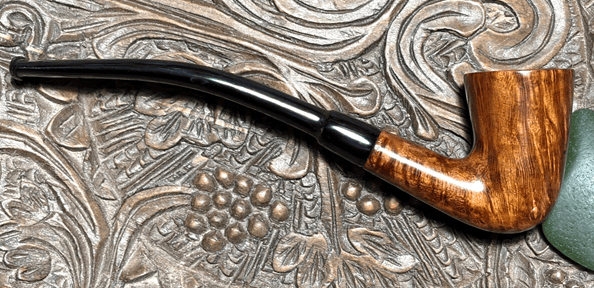
Richard found his Barontini in a vintage estate sale and expressed some unwarranted embarrassment that his pipe only cost $10. This is not an embarrassment in my book but truly a badge of honor! He discovered after doing a Google image search that I had restored a very similar Barontini (New Life for a Barontini Lite 22 Italy Bent Dublin). When he saw the results of restoring that Barontini, he reached out hoping that his Barontini might benefit from some TLC. I also appreciate Richard’s desire to support the work of the Daughter of Bulgaria, now called Spring of Hope with his restoration. My wife and I co-founded this effort several years ago helping Bulgarian women and girls who had been trafficked and sexually exploited. We’re thankful that this effort continues even though we no longer live in Bulgaria. I would call the size of this Bent Dublin a petite and great for hands free activities. The dimensions are Length: 5 3/8 inches, Height: 1 1/2 inches, Rim width: 1 inch, Chamber width: 5/8 inches, Chamber depth: 1 5/16 inches. Here are pictures of Richard’s $10 Barontini.
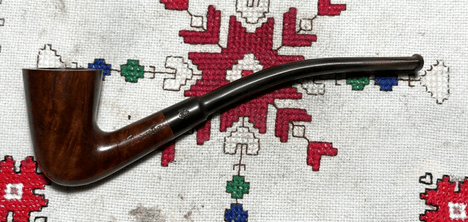
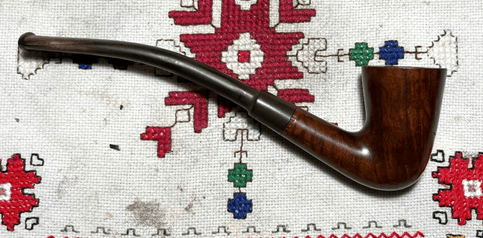
The grain is attractive and needs basic cleaning to remove grime. There are some normal wear scratches over the stummel surface that need addressing.
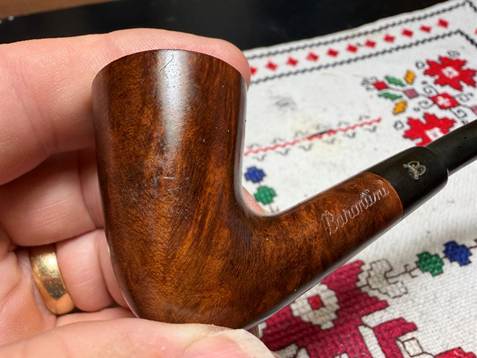
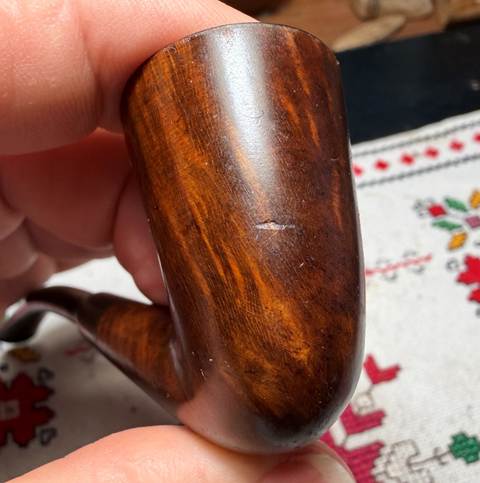
On the front right of the bowl there appears to be a cut or perhaps a very small fill that needs attention. After the cleaning we’ll take another look.
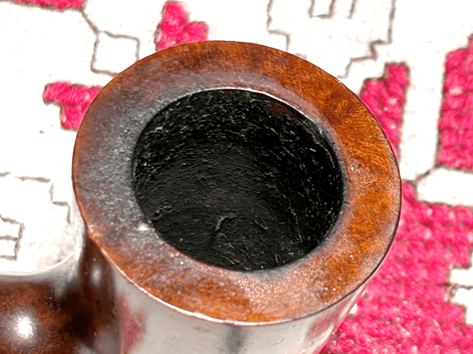
The broad rim has some crusted lava flow over mainly the aft section.
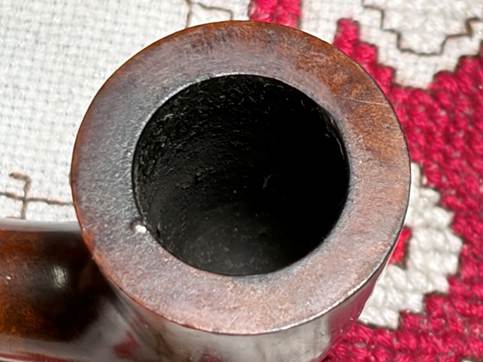
The chamber has light carbon cake build up – about the right amount to protect the briar. This will be cleaned to allow Richard to create a fresh cake.
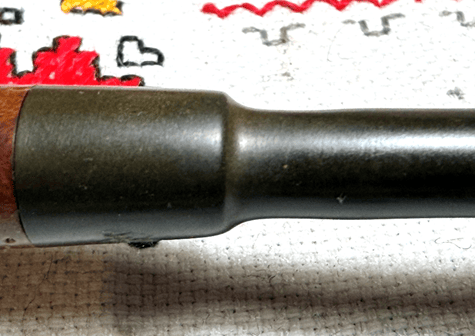
The picture below reveals oxidation in the vulcanite saddle stem which shows up as a greenish haze instead of the glossy jet black rubber which will be restored by the end of the project.
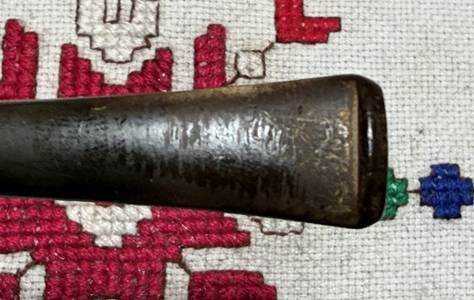
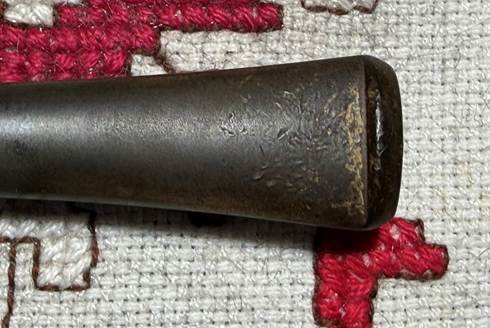
The bit definitely testifies to the fact that this smaller pipe was a hands free ‘project pipe’ with the heavy tooth chatter on both the upper and lower sides.
The shank is in good shape with no cracks. With this being a small pipe the shank is pretty thin. One must be vigilant not to flex the stem resulting in that sickening pop ☹!
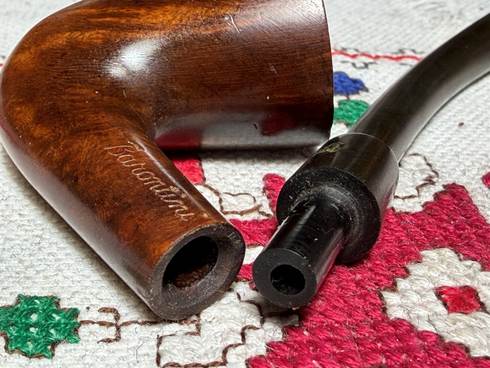
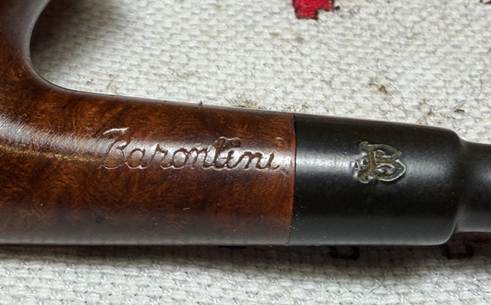
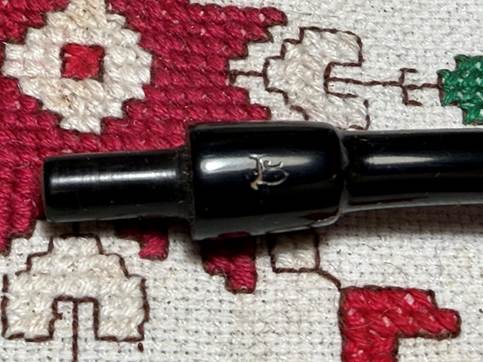
The nomenclature on the shank’s left side is stamped with a cursive: Barontini. The stem logo cursive ‘B’ is crip and clear.
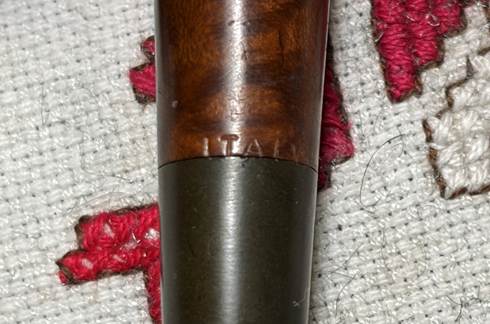
The COM is stamped parallel with the shank facing on the right side of the shank: ITALY.
The Barontini that I had previously restored was stamped, Barontini Lite. The ‘Lite’ designation is not on Richard’s Barontini and his is a bit smaller with a saddle stem instead of a tapered stem. After doing the deep dive on that project, it being my first Barontini project, I include much of that research below.
My first stop seeking information about the Barontini name was Pipedia and what I discovered were two Barontinis who were cousins – Cesare and Ilio. The article about Ilio Barontini was short (Barontini, Ilio – Pipedia):
Cesare Barontini, who was in charge of the Barontini company since 1955, helped his cousin Ilio Barontini to establish a pipe production of his own.
Ilio started to produce a machine-made series pipes at the low to mid-price points. 80% of the pipes went to foreign countries, the bulk being produced as various private label brands. Some of his own lines, such as “De Luxe”, “Etna” or “Vesuvio” gained a certain popularity.
Ilio Barontini pipes offer a wood quality that is somewhat unique in this price category.
There are unconfirmed reports that the brand has since been absorbed by Cesare Barontini or perhaps Savinelli.
Next, the Cesare Barontini information was just as short (Barontini, Cesare – Pipedia):
In 1890 Turildo Barontini opened a factory for the production of briar. In 1925 his son Bruno began to produce the first pipes. Cesare Barontini, son of Bruno, started direction of the factory in 1955, and still runs it together with his daughters Barbara and Silvia.
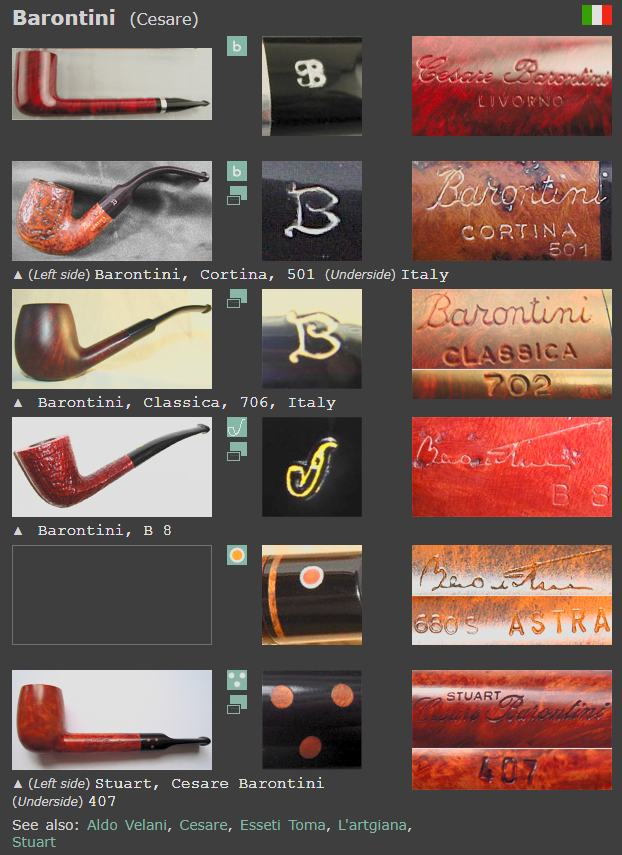
PipePhil is where I go to next (Baro-Bd — Pipes : Logos & Markings). It seems apparent from this information panel that my former Barontini and Richard’s were produced by Cesare Barontini and not by his cousin Ilio. In the second and third pipes below, both the ‘Barontini’ simple cursive lettering and the ‘B’ stem logo are identical.
If one does a general search of Cesare Barontini pipes on the internet, it’s very evident that Cesare Barontini pipes are still being produced and new pipes are being sold. However, the styles of pipes are nothing like the former Lite Barontini and the Barontini now on the worktable. The pipes appear to be very high end with acrylic stems and modern bling. Here are random samples on a search page.
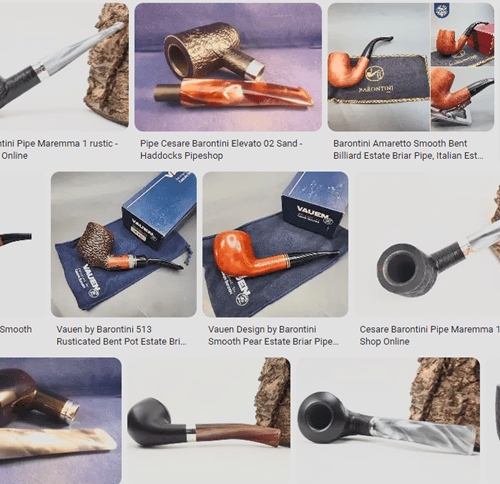
What is also interesting is that I can find no ‘official site’ link. The ‘mysterious’ Cesare Barontini pipe production information seems to be a discussion even among retailers of pipes. The German Cigar World had this to say about the Barontini pipes they were selling (Cesare Barontini: Buy Pipes | Cigarworld.de):
Cesare Barontini: Pipes from Italy
As much as we would like to present a comprehensive overview of a significant Italian pipe manufacturer, unfortunately, little is known about this producer. Contact is only possible through the German importer, Hauser in Augsburg. However, neither an email address nor a homepage is available. In Italian pipe-smoking forums, there are wild speculations about the continuation of business operations, but none of these have been confirmed. Even in its home country, communication with customers seems nonexistent. Well-known online pipe encyclopedias are also not particularly informative.
Under Its Own Name: Pipes by Cesare Barontini
It is certain that Barontini has been producing thousands of pipes for some renowned manufacturers for decades, including for Stanwell since 2011. Vauen has also had production done here, though this is no longer the case.
As a result, the pipes marketed under the Barontini name now play only a minor role. However, they are of decent quality, as much can be confirmed.
Barontini Pipes: A Bit of History
According to an email from the importer, the history can be summarized as follows:
- In 1890, Turildo Barontini opened a briar mill for producing pipe-making ebauchons.
- In 1925, production of finished pipes began under the management of Bruno Barontini.
- During World War II, production was halted for about seven years.
- In 1946, the factory was reopened by Bruno and Illico Barontini.
- Since 1955, investments were also made in the production of raw materials as well as pre-made pipes.
Currently, production is said to still be based in Livorno, and the factory remains under the leadership of the Barontini family. Unfortunately, no further information is available.
Additional information is added by this site but the sources for the information seem to be a bit hazy:
“According to an email from the importer, the history can be summarized as follows…”
In my earlier research I speculated that the ‘Lite’ line of Cesare Barontini pipes represented an older production line. The similar style of Richard’s pipe is also in line with this older production. Cesare took over the production in 1955, and it continues to be run by the family according to the sources. Unfortunately, when the Barontini line transitioned to the modern, acrylic stem and bling, is not known. However, I would speculate that Richard’s Barontini production pre-dates this.
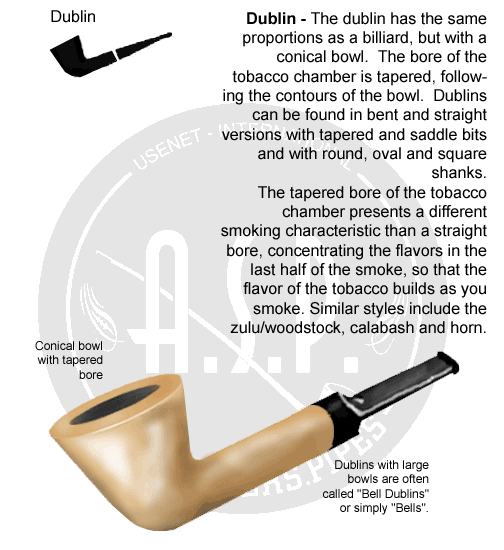
Before getting started working on the Barontini, I enjoy Bill Burney’s description of the Dublin shape on Pipedia (Dublin – Pipedia).
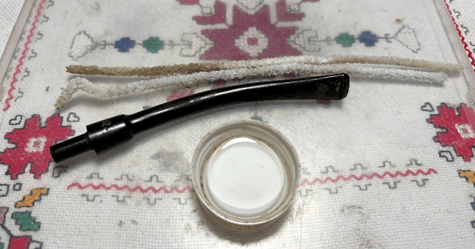
With a better understanding and appreciation of the pipe on the worktable, it’s time to begin sprucing It up. To start, the saddle stem airway is cleaned with a couple pipe cleaners and isopropyl 99%.
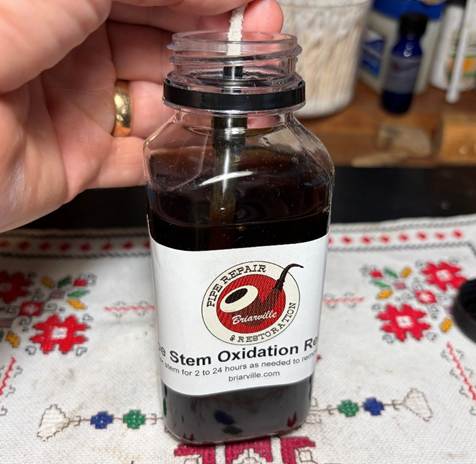
To address the oxidation in the vulcanite, the stem is placed in a soak of Briarville.com’s Pipe Stem Oxidation Remover. It will soak for several hours.
Turning next to the stummel, the lite cake is so thin that reaming is not necessary.
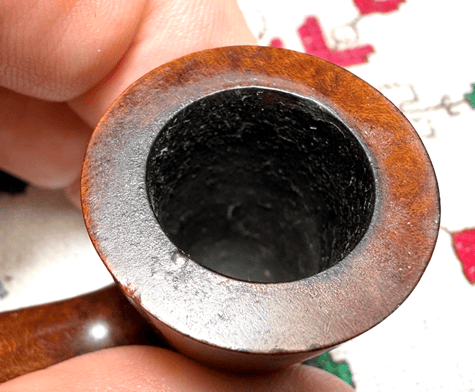
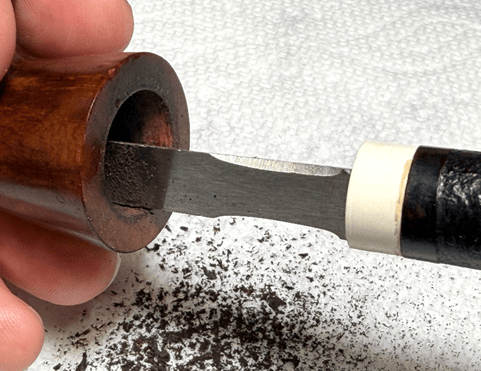
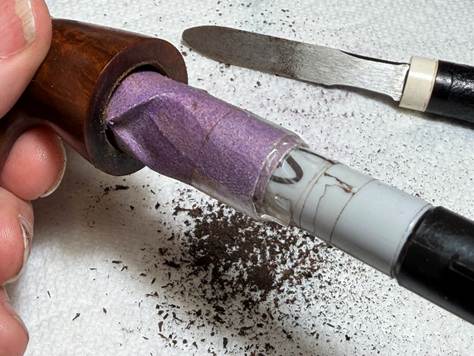
Along with there being a very thin cake build up; the chamber of the Dublin bowl tapers down to the floor of the chamber. For this reason using a regular straight reaming tool does not work well. The Savinelli Fitsall Tool is used to scrape the conical chamber. This is followed by sanding the chamber with 220 grit paper wrapped around a Sharpie Pen.
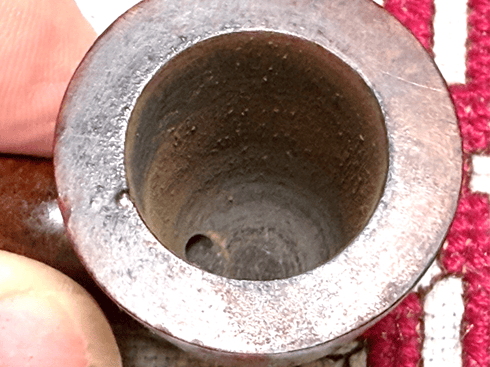
After the sanding the chamber is inspected revealing healthy briar with no heating issues.
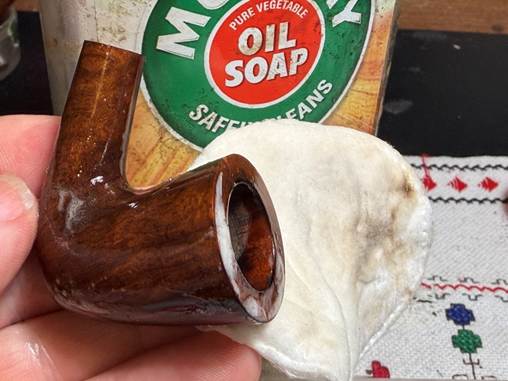
Next, to remove the grime the external briar surface is scrubbed using a cotton pad and undiluted Murphy Oil Soap. The rim is also cleaned using the cotton pad.
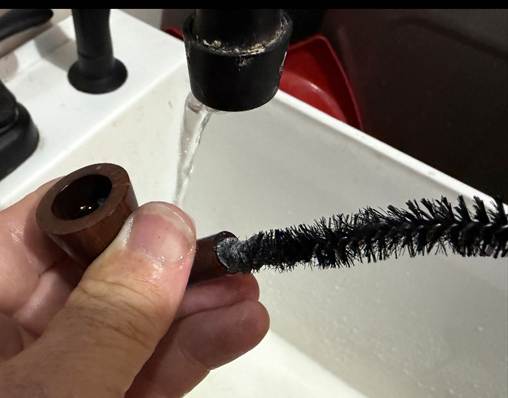
The stummel is then taken to the utility sink to begin cleaning the internals. Using hottish water and anti-oil liquid dishwashing soap (Dawn), the internals are scrubbed using shank brushes. Following this, the stummel is thoroughly rinsed and returned to the worktable.
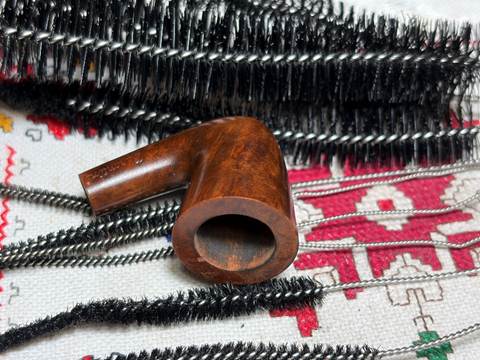
Cleaning the internals continues with cotton buds and pipe cleaners moistened with isopropyl 99% alcohol. It doesn’t happen often, but with 2 buds and a cleaner, the internals are looking good. Perhaps Richard did some cleaning when he acquired the Barontini.
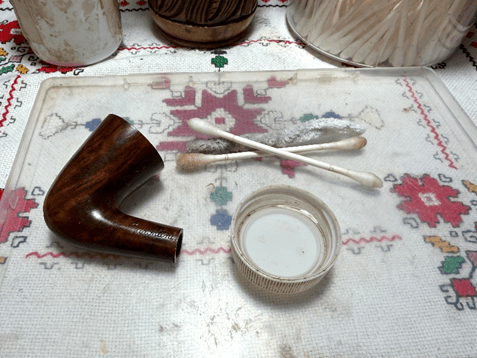
With the basic cleaning complete, I take a closer look at the condition of the stummel. Looking at the rim, a few issues emerge. There is a dark ring remaining around the inner lip of the rim. Old finish is eroding showing blotchy spots.
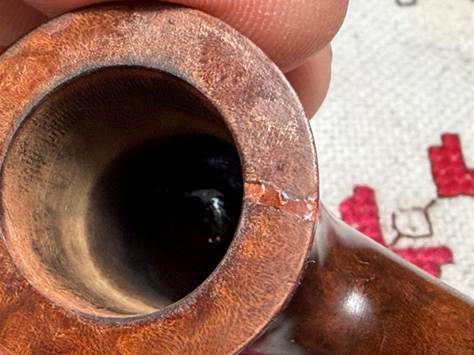
Also, most interesting is that there is an old fill crossing the rim surface.
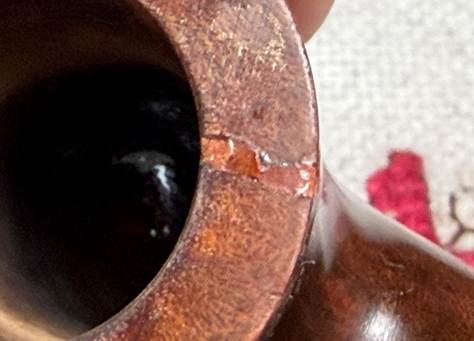
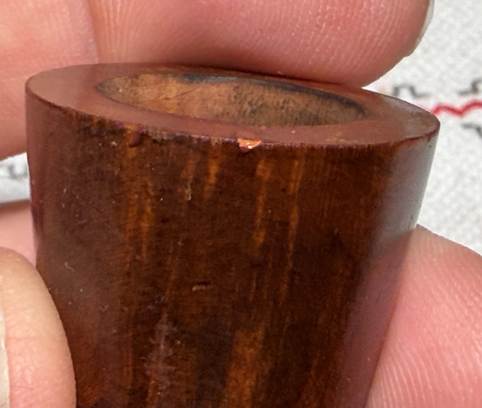
Looking at it from the side, one can see the fill’s depth – at least on the edge.
The large blemish on the front right noted earlier is not a fill but a deep gash in the briar which needs to be addressed.
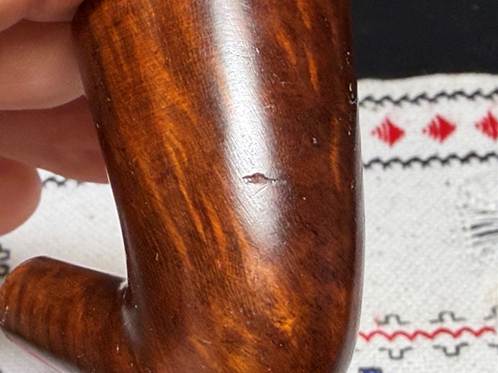
I’ll start with the gash. The cut is too deep to simply sand. Briar putty will be used to fill the gash using a mixture of regular CA glue and briar dust. A small amount of each is placed on the scotch tape which is put on the plastic mixing surface. This helps with the cleaning.
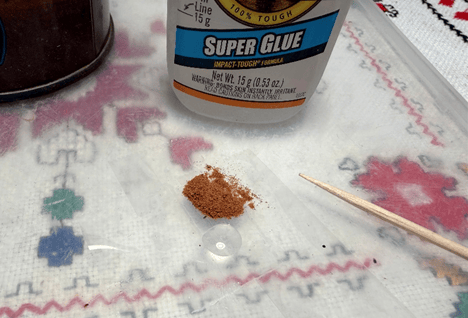
Using a toothpick the glue and dust are mixed and then troweled to fill the cut. The patch is set aside to allow it to set up and cure.
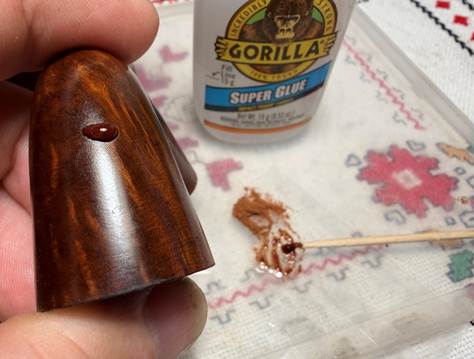
After the patch is thoroughly cured, the patch mound is sanded down with needle files. Care is given to keep the files on the mound without running over on to the nearby briar.
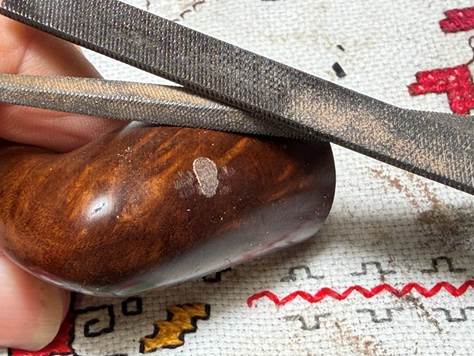
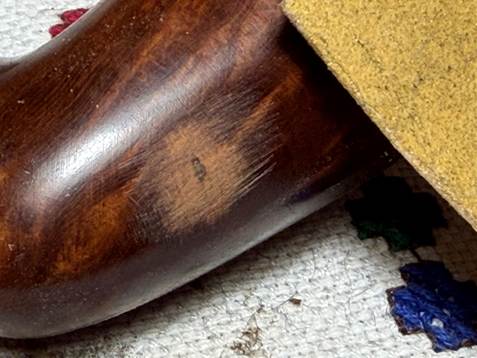
Filing is followed by sanding with 220, 320 and 600 grit papers. The patch looks good.

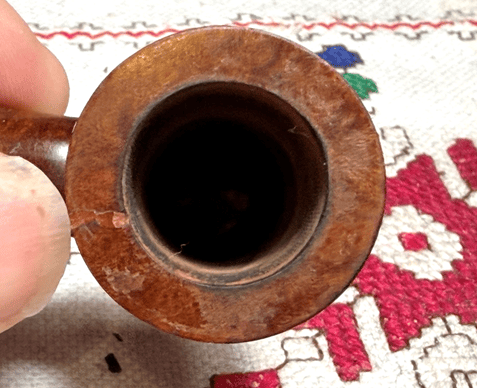
Next, looking at the rim there are a couple issues. The main issue is the old fill that crosses the rim surface on the lower left in the picture below. There are two ways to approach this. One approach is to clean the old fill and apply briar putty for a new patch. The second approach which I like more is to erase the fill by topping the stummel. The advantage of this approach is that it removes the blemish, cleans the entire rim and removes the dark char ring on the inner edge of the rim. The downside of this approach is that I can’t tell how deep the blemish goes. I don’t want to take too much rim real estate off by having to do aggressive topping. Yet, from the side view, it looks like it won’t take too much topping to do the job.
Choosing the topping approach, the bowl is inverted on 220 paper on the chopping board which serves as my portable topping board.
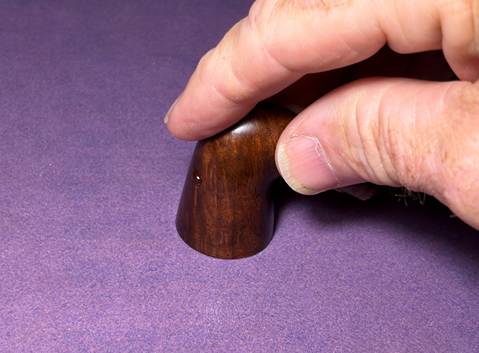
After several rotations of the stummel, the ring around the inner rim edge is lessened and progress is made on the fill.
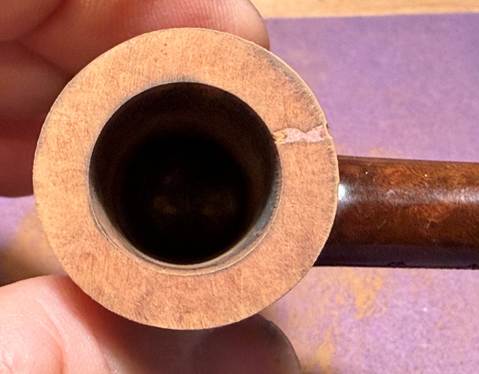
After several more rotations, the ring is fully erased, and the fill blemish is all but gone. What remains is slightly darkened briar but the briar is smooth to the touch now.
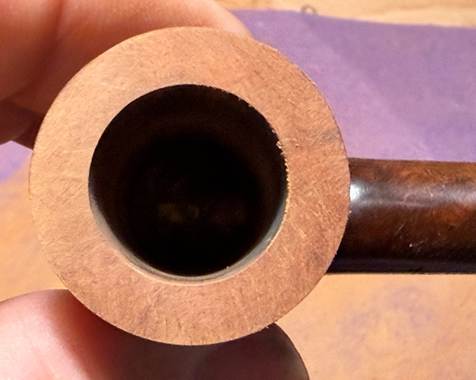
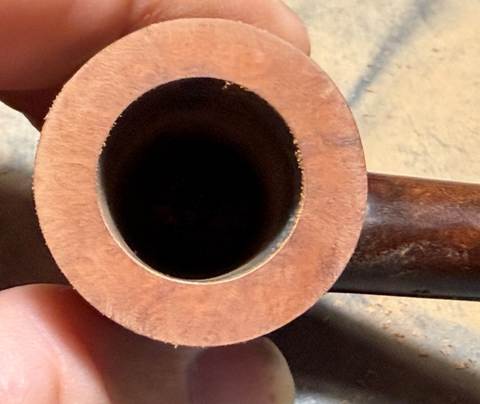
The 220 grit paper is followed by 600 grit paper, and topping continues with the finer paper. After several rotations, the grain is peeking through and the rim looks great. Moving on.
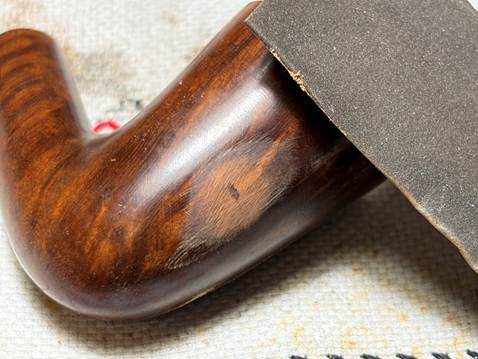
Moving on now to address the tiny scratches on the briar surface, 5 sanding sponges are used starting with the coarsest and finishing with the finest. Care was taken to avoid the nomenclature.
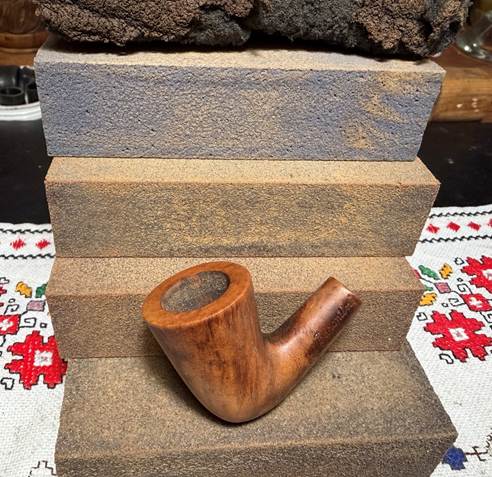
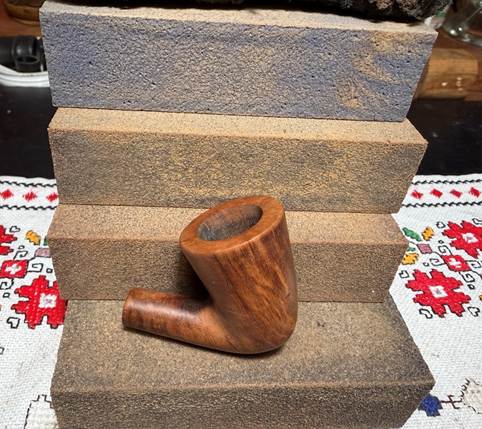
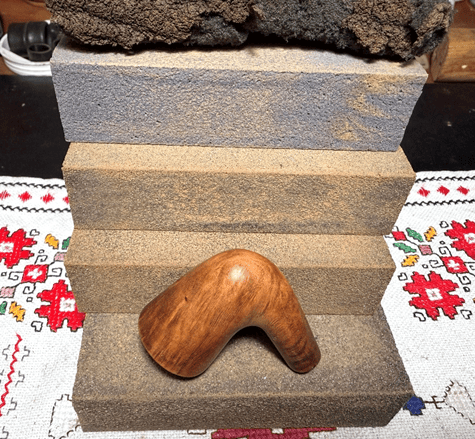
With the half bent stem/shank, the sponges are unable to reach the crook to sand. The result of this is a darkened blotch of old finish remaining and in contrast with the clean briar. The nomenclature is also darker because it was avoided during the sanding.
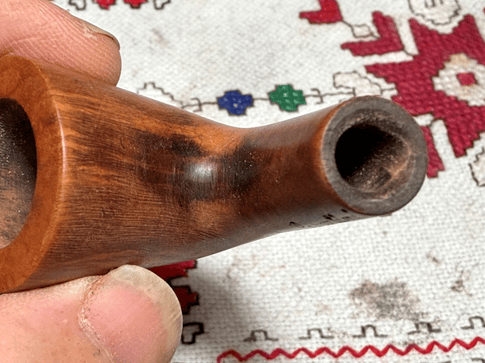
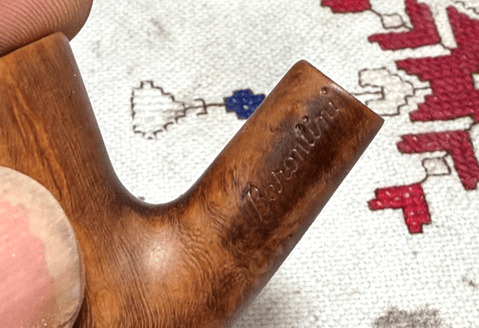
To remove more of the old darker finish over the nomenclature and crook a cotton pad moistened with acetone aggressively rubs the areas to remove the vestiges of dark stain. Steel wool grade 0000 is also used to reach into the crook.
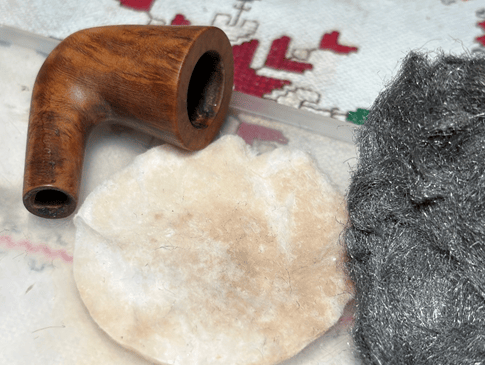
The sanding continues with the application of the 9 micromesh pads. Between each pad, the stummel is wiped with a damp cloth to remove dust and give the following pad better traction. The first set of three pads are grades 1500, 1800, and 2400.
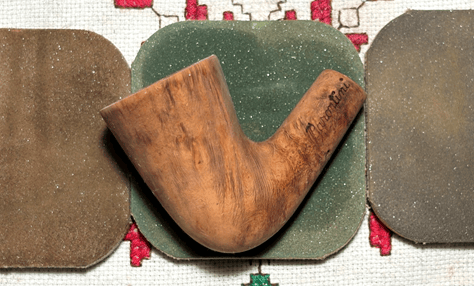
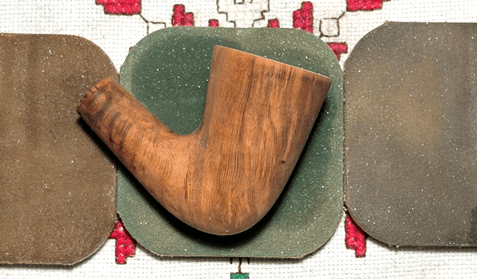
The second set of pads are grades 3200, 3600 and 4000.
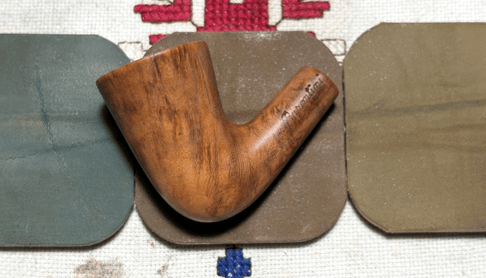
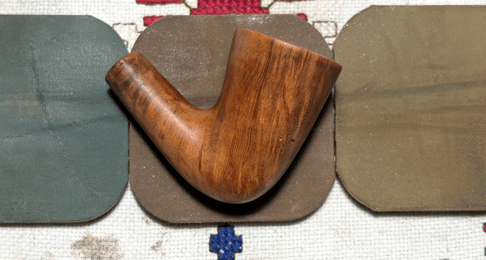
The final set are pads 6000, 8000 and 12000.
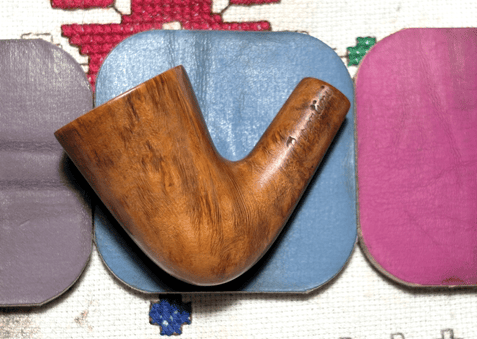
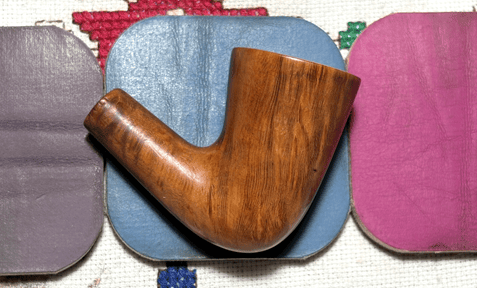
The grain came out very nicely through the micromesh process and I could easily leave the sanding and move to the stem with where the stummel is at this point. However, as I did with my previous Barontini and what I often like to do, is apply a dye. With the former project there were a number of larger fills that needed to be masked which necessitated the application of dye. For this stummel, this is not a problem but one of the really beneficial benefits of applying a dye is that it enhances the contrast in the grain. This is what I’m shooting for with this Barontini.
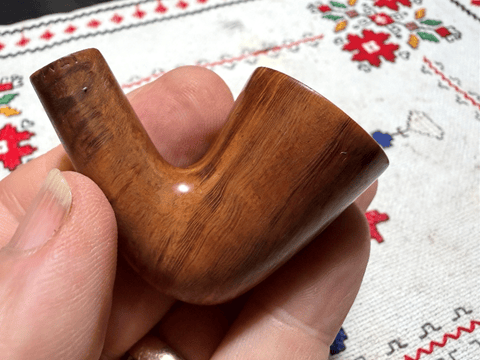
The first step is to warm the stummel with the hot air gun. This helps to expand the briar grain making it more receptive to the dye pigment.
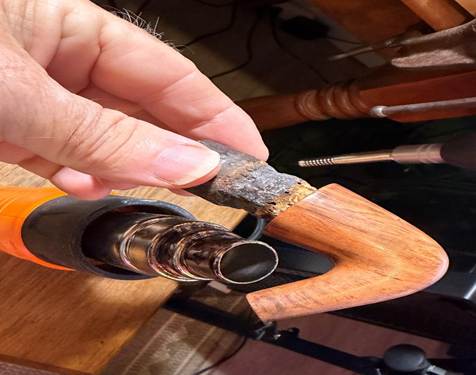
Fiebing’s Light Brown Leather Dye is used. With the stummel warmed, dye is applied to the stummel surface in sections using a folded pipe cleaner. The wet dye is then flamed with the candle. The dye is an aniline dye meaning that it contains alcohol so the flame ignites the alcohol, and it immediately burns off leaving behind the dye pigment. This process continues methodically around the stummel until the dye is applied thoroughly. For good measure, a second coat is applied in the same way.
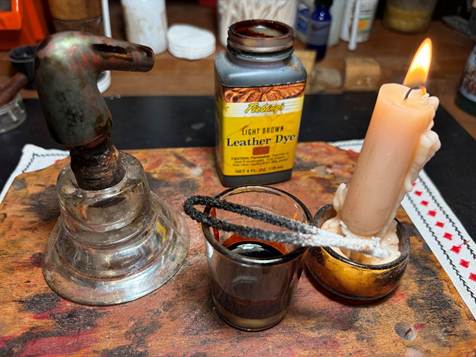
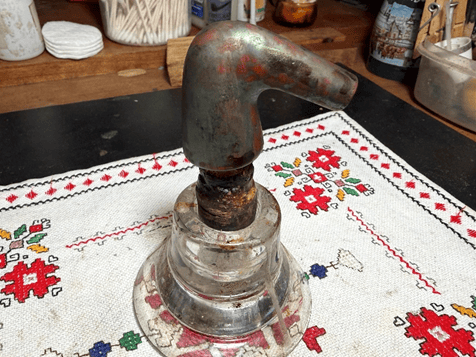
The stummel is set aside for several hours allowing the new dye to settle in.
Switching now to the stem, it has been soaking in Pipe Stem Oxidation Remover for several hours – actually overnight. After the stem is fished out, the photo below shows the thick raised oxidation.
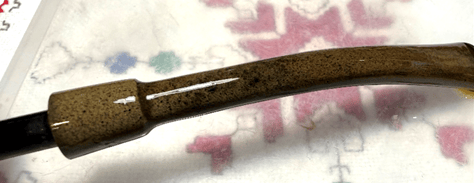
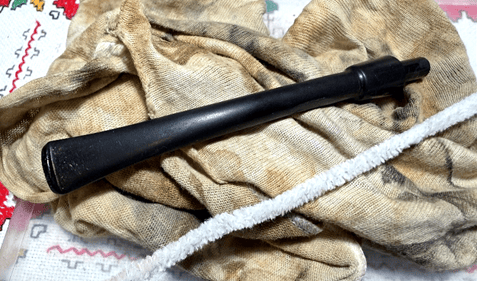
Using a cotton cloth the stem is rubbed rigorously to remove the raised oxidation. The soak did a good job. The airway is again cleaned with a pipe cleaner and isopropyl 99% alcohol.
The bit, both upper and lower, has tooth chatter. Before sanding, the heating method is used to lessen the chatter damage. Using a Bic lighter flame, the bit is heated with the flame moving the flame back and forth quickly so not to scorch the rubber. The heating causes the vulcanite rubber compound to expand allowing the blemishes to be lessened. The before and after pictures show that the heating did a good job of lessening the chatter. Basic sanding now will clean things up. Before and after photos show the comparison. First the upper bit:
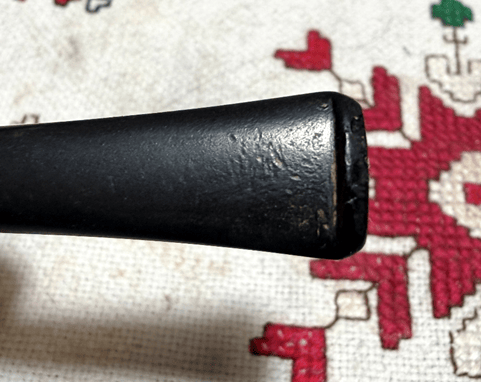
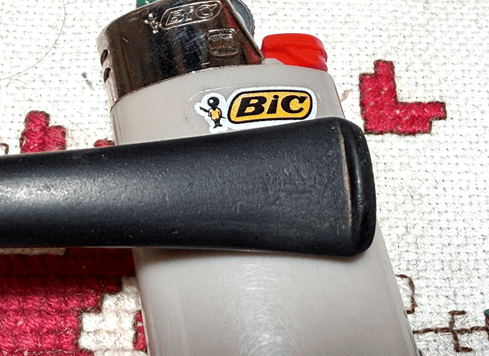
The lower bit:
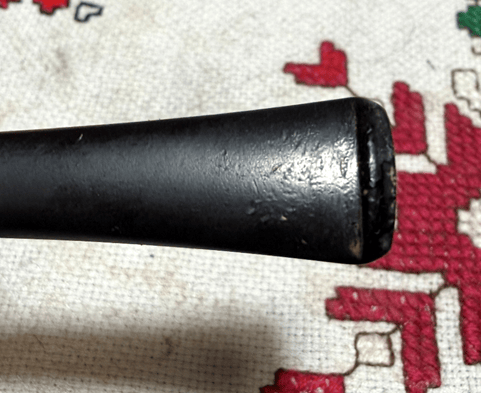
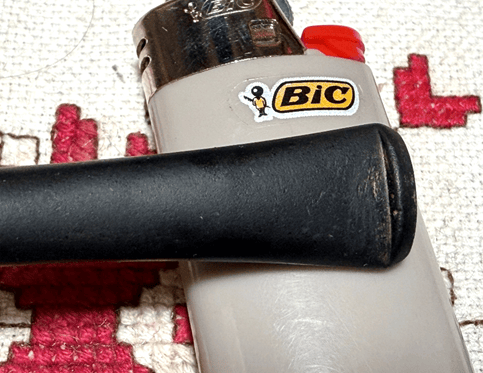
The bit is sanded with 220 paper to remove the remaining blemishes.
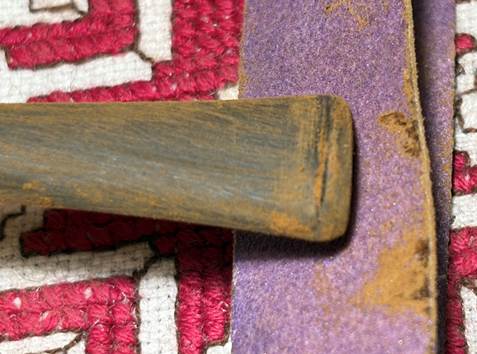
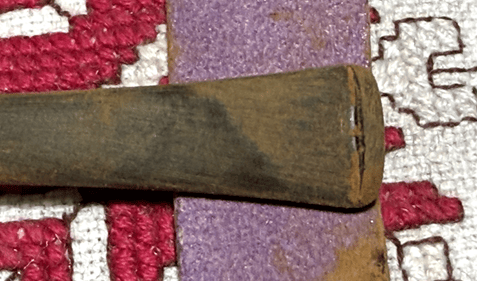
The sanding with 220 grit paper is expanded to the entire stem. A plastic disk is used to sand against to guard the stem facing from shouldering.
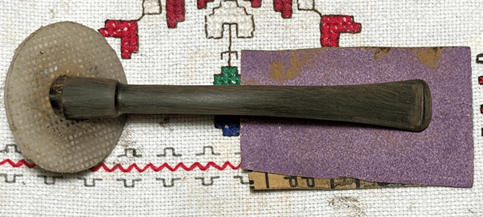
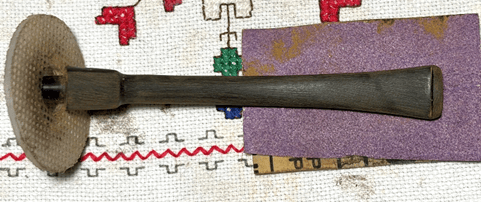
The sanding continues with the finer 320 grit paper.
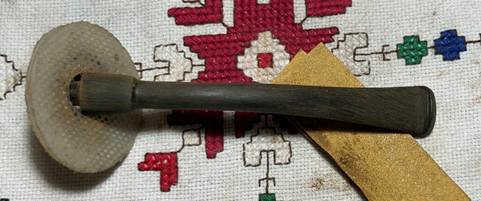
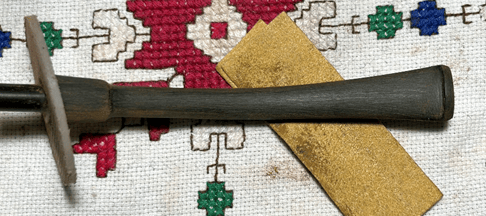
Next, the stem is wet sanded with 600 grit paper, and this is followed with applying 0000 grade steel wool.
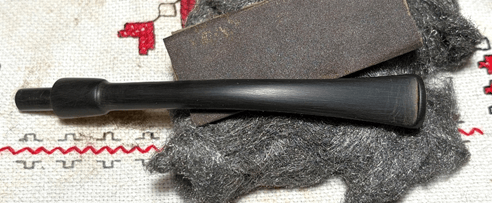
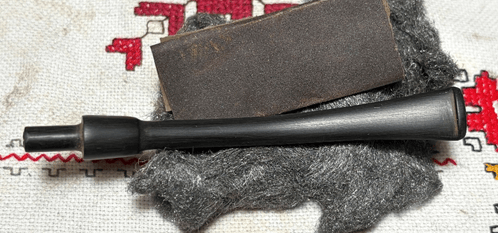
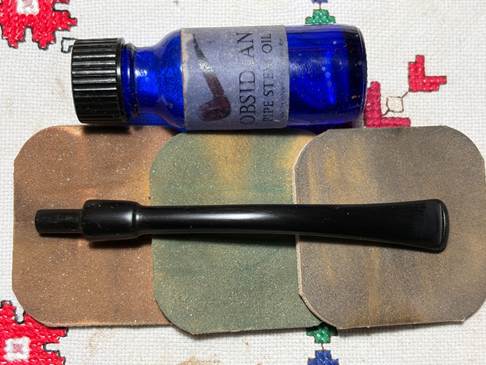
The sanding continues with the full regimen of micromesh pads. Obsidian Oil is applied to the stem between each pad to condition the vulcanite and to guard against future oxidation. The first set of pads are grades 1500, 1800 and 2400.
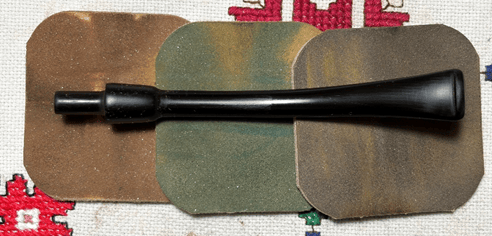
Next, pads 3200, 3600 and 4000.
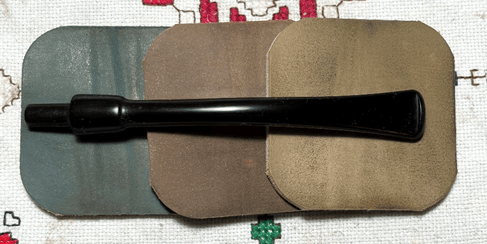
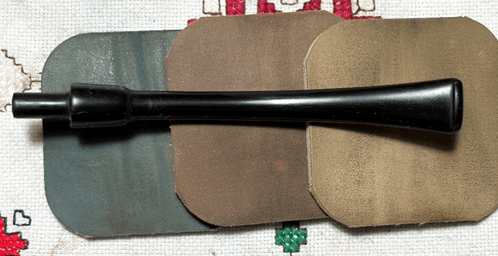
Finally, pads 6000, 8000, and 12000 are used. The stem is looking very nice. Quite a transformation.
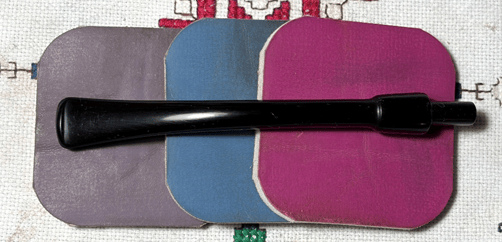
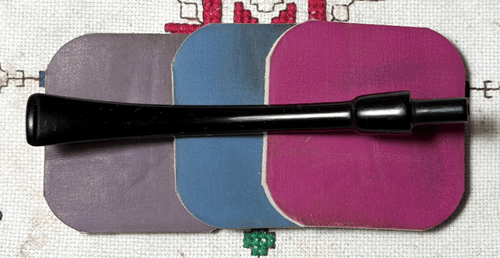
With the stem sanding complete, it’s time to unwrap the newly dyed stummel. I describe it as unwrapping because it’s a flamed crust on the surface and to me it’s like unwrapping a gift which reveals the briar grain. To do the unwrapping, a rougher felt cloth buffing wheel is mounted on the rotary tool using Brown Tripoli compound which is more abrasive. The compound is applied with the speed set at about 40% full power.
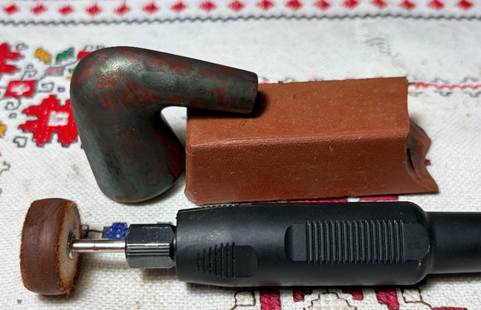
The next two photos shows the contrast of the emerging grain as the stummel is unwrapped. I never know for sure how the grain will receive the dye, but this looks good.
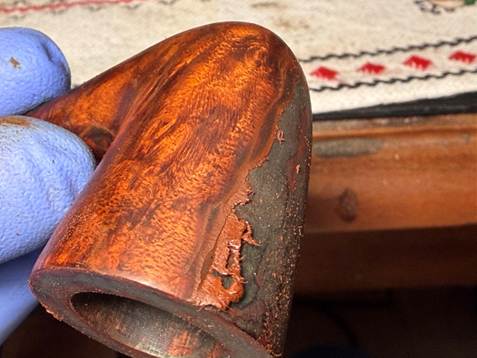
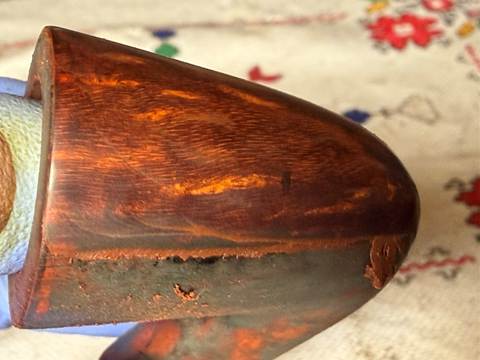
After the felt wheel has done the major plowing, a cotton cloth wheel is mounted, and another round of Brown Tripoli compound is applied. I do the second round for a few reason. The felt wheel is unable to reach into the crook to clear away the flamed dye, but the softer cotton wheel can. The second reason is that using the more abrasive Brown Tripoli, the second application fine tunes the grain contrast as more dye is removed. To me it sharpens the grain presentation.
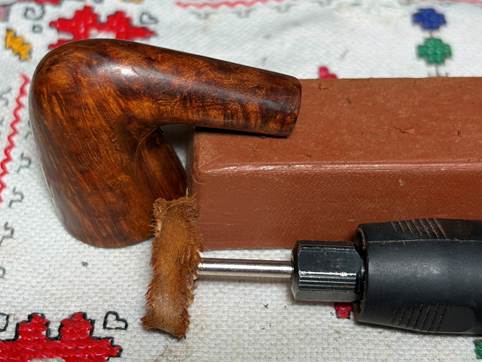
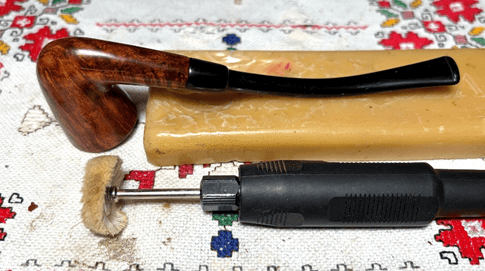
Following the Brown Tripoli, the stem and stummel are reunited. The finer Blue Diamond compound is applied next to the pipe after mounting a dedicated cotton cloth wheel with the rotary tool at the same speed.
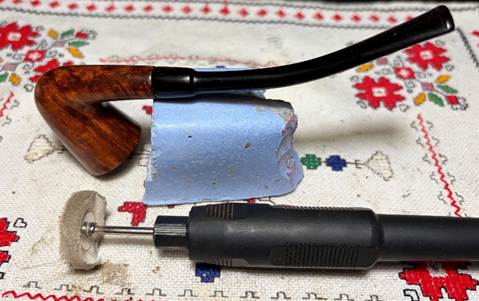
A lot of compound dust accumulates on the pipe surface and to clean it away a felt cloth is used. This prepares the surface for the application of wax.
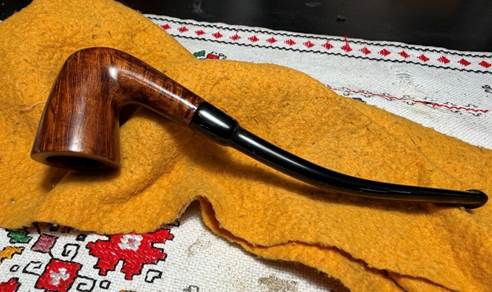
Before applying the wax, a mini project awaits. The stem logo needs refreshing.
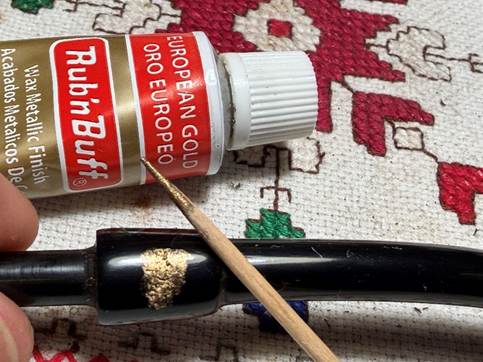
Rub ‘n Buff European Gold is used to do the job. After applying a small amount of the paint over the logo with a toothpick, the excess is wiped off with a cotton pad.
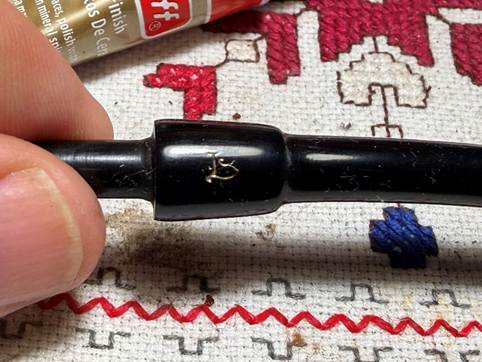
The logo looks good.
The last step is to apply carnauba wax to the stem and stummel. After another dedicated cotton cloth buffing wheel is mounted, the wax is applied. After the application, the pipe is given a rigorous hand buffing with a microfiber cloth to remove excess wax and to raise the shine.
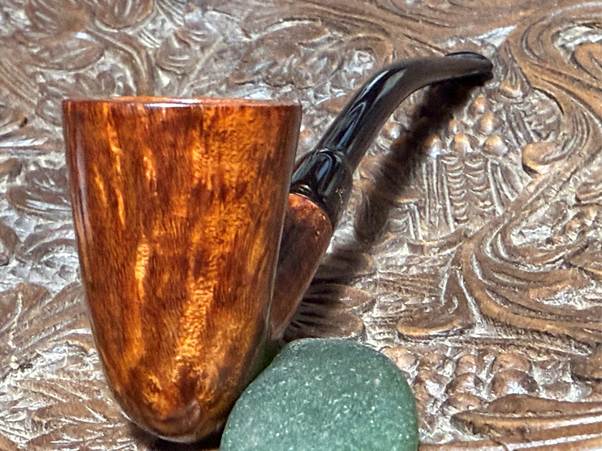
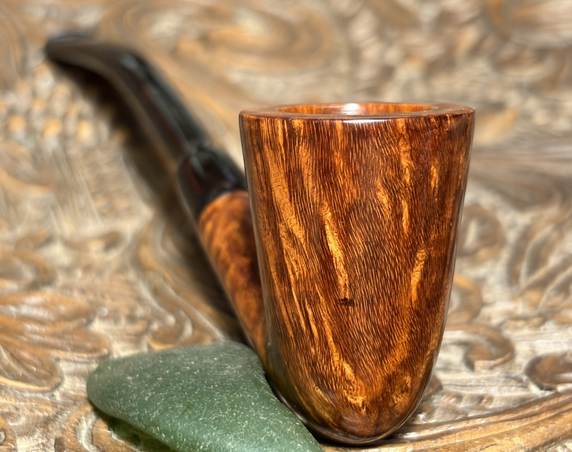
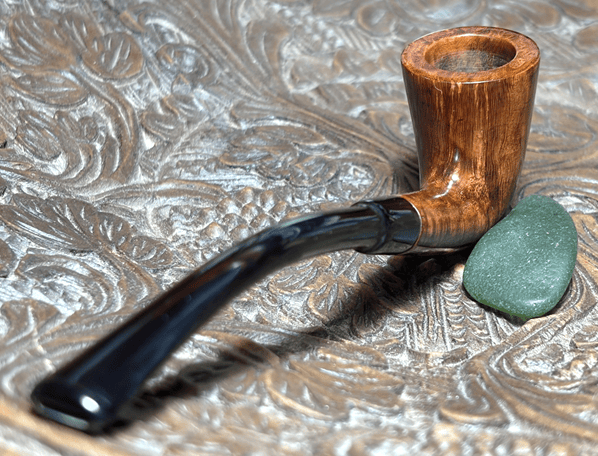
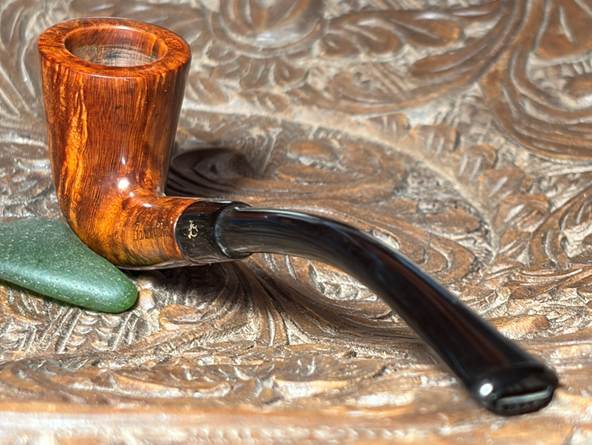
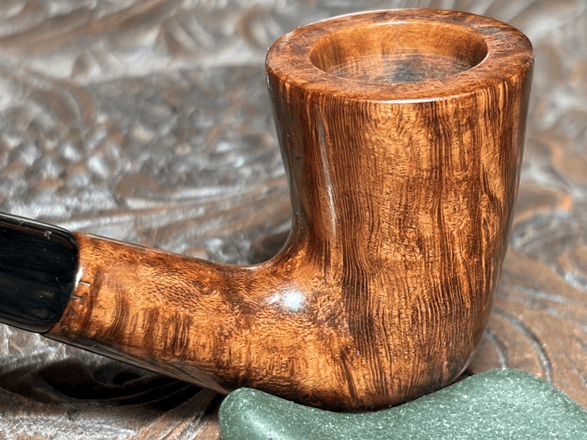
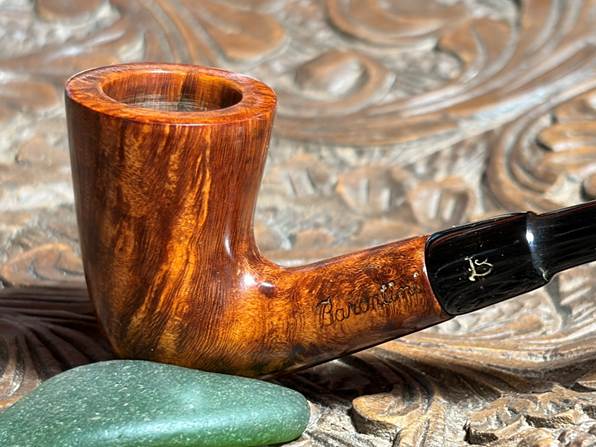
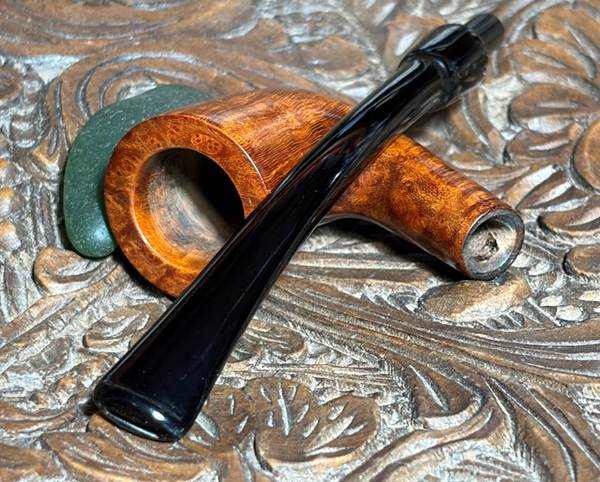
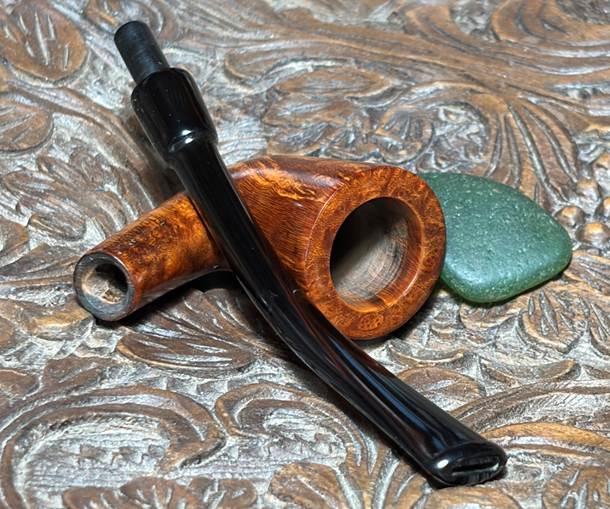
This small Barontini Bent Dublin produced in Italy turned out nicely. The picture below shows the heightened grain contrast that is achieved with the strategic application of a dye. The hue has not really changed but the grain has become more vibrant. I think Richard will be pleased with the facelift his pipe has received. Richard was hoping to receive his Barontini back before the holidays so he could enjoy a Thanksgiving bowl which always helps us reflect on all that we is thankful for. Thanks for joining me!