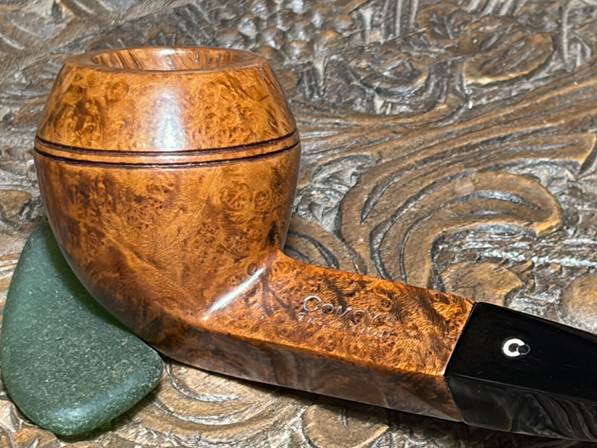
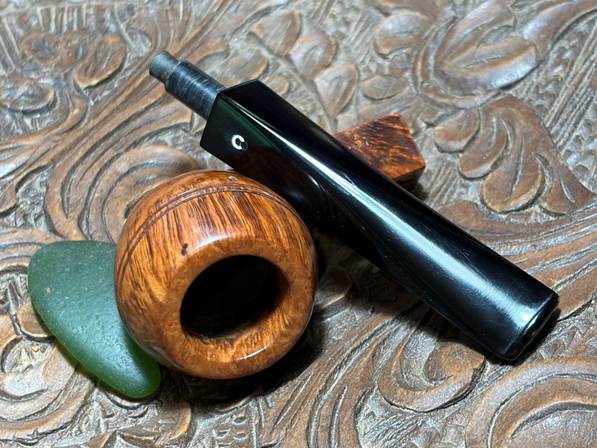
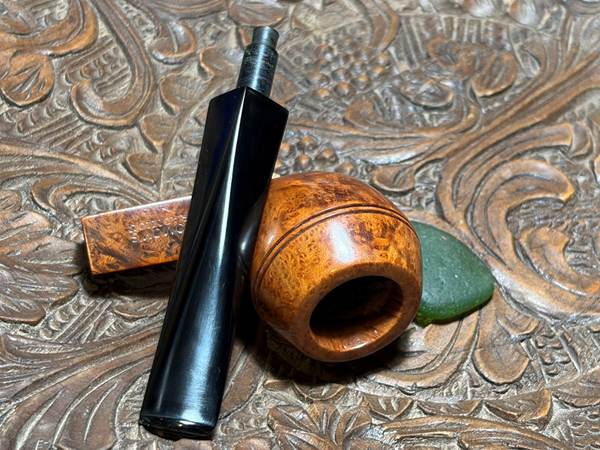
The next pipe on the worktable came to me in August 2022 from Old Town Antiques in Sozopol, Bulgaria. My wife and I lived in Bulgaria for 15 year and one of our favorite places to go to for rest and relaxation was Sozopol. Sozopol is on the Black Sea coast of Bulgaria and can be described as a one-time small sleepy fishing village, but its location and quaintness made it a great place for folks to go to the beach and enjoy the several restaurants located in old town. Earlier in 2022 my wife and I had been serving in Krakow, Poland after Russia’s war of aggression against Ukraine had escalated. Before living in Bulgaria, we also lived in Ukraine for several years and we were asked to help out in Krakow with bringing aid into Ukraine and helping Ukrainians fleeing the violence to find safe refuges in Europe. We had completed our work in Krakow a few months earlier but returned in July to bring crates of aid ourselves. The picture below is heading to the Denver Airport on our return to Krakow.

It was after this that we made our way to Sozopol for some R&R in a place that always was a ‘Happy Place’ for us over the years and was perfect to help us decompress our time engaged in the war support. It was on one of our jaunts into old town Sozopol after a day at the beach that I went to the ‘Old Town’ Antiques after a wonderful dinner of mussels and sea bass. Over the years I had visited this shop many times and had found pipes during those visits. This visit also was fruitful, and I found 4 pipes that got my attention. These classic pipes all eventually made their way to the For “Pipe Dreamers” ONLY! online collection where pipemen and women can commission pipes that get their attention. Pipes also help support the Daughters of Bulgaria (now called, Spring of Hope) a program my wife and I co-founded when we lived in Bulgaria. A portion of all the proceeds of pipes restored help this ministry to continue its mission helping women and girls who have been trafficked and sexually exploited and creating prevention programs that protect the vulnerable. Here are the Sozopol 4 with the Comoy’s now on the table the second pipe down.
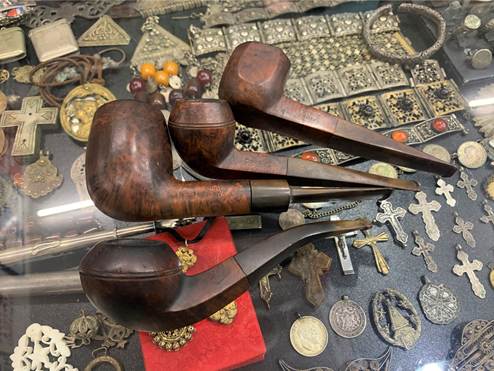
This is the second pipe that pipeman Stephen commissioned. Both pipes are classic Bulldogs and the first one came out very well in spite of a few challenges (Mending a Mauled Stem and Hole for a GBD Cornwall London, England 549 Bulldog).

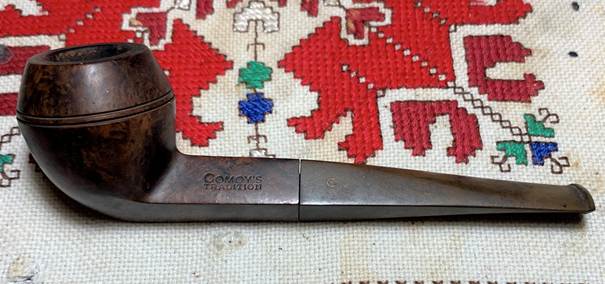
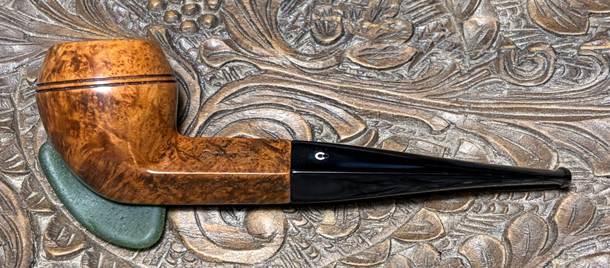
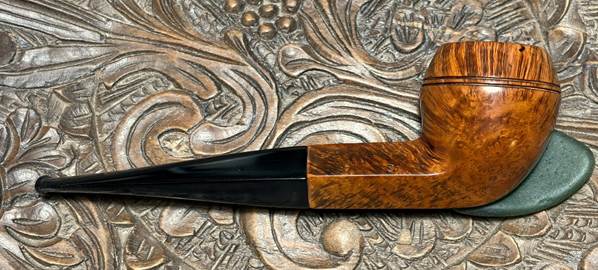
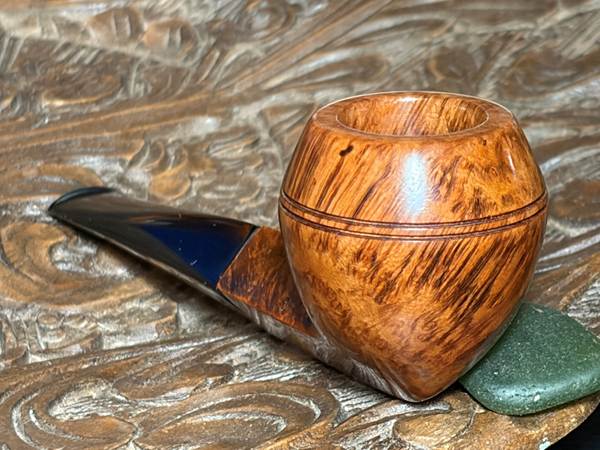
Stephen is from Kentucky and is in law enforcement – I appreciate his service. The Comoy’s also got Stephen’s attention which would add another Bulldog to his collection. Here are pictures of the Comoy’s Tradition after it came back with me to Golden, Colorado. I really like the tapered, diamond shank and stem.
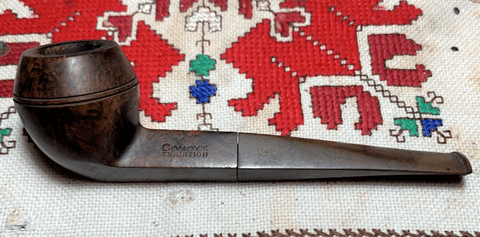
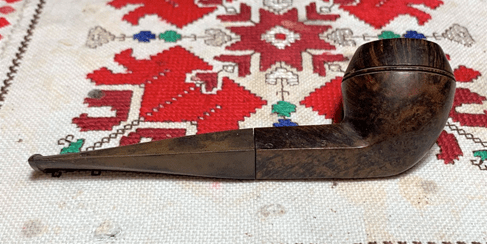
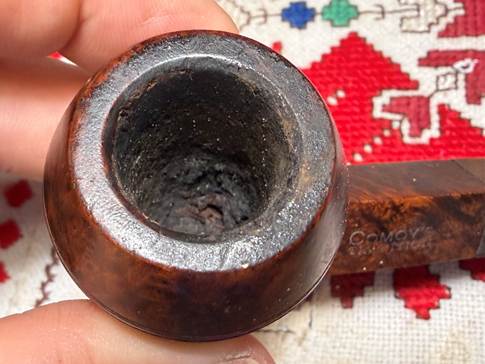
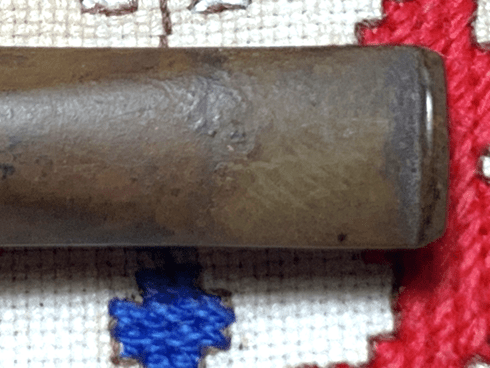
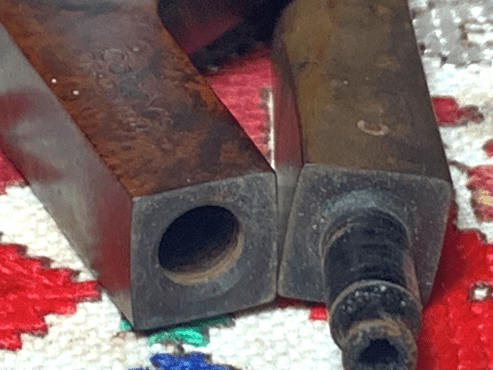
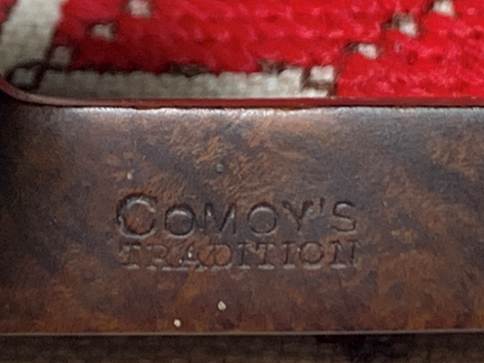
The nomenclature stamped on the upper left shank panel is COMOY’S [over] TRADITION.
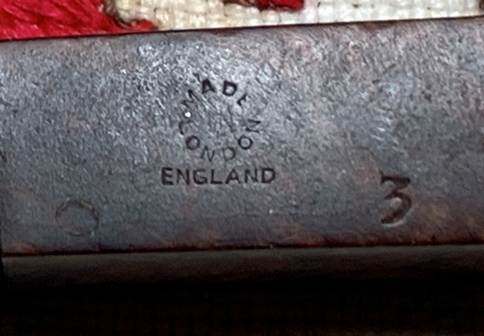
On the upper right shank panel is stamped in a circle, MADE IN LONDON [with ‘IN’ in the center, over] ENGLAND. The ‘IN’ is very faint in the center. To the right of the COM is stamped ‘3’ – the shape number.
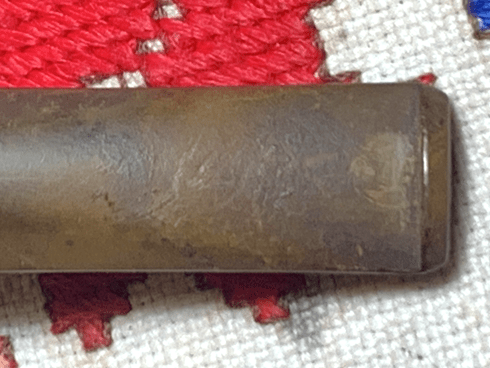
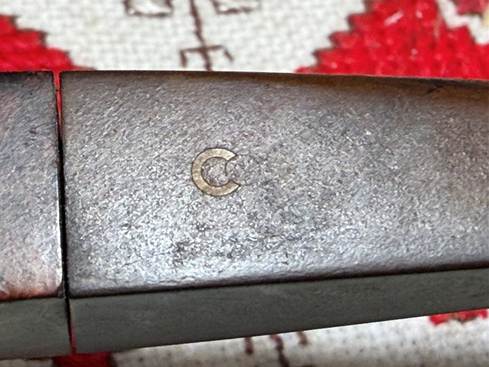
The stem has the Comoy’s ‘C’ stem logo.
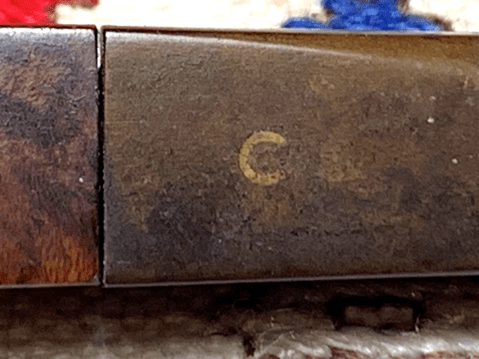
The history of the Comoy’s name goes back to 1850 when Henri Comoy was born near Saint Claude, France. Pipedia’s Comoy’s article (Comoy’s – Pipedia) has a vast and thorough reconning of the Comoy’s history. For one who would like to do a deep dive, the Pipedia article is the place to go. As with Stephen’s last pipe – the GBD Cornwall, whenever there is a French and English connection, and add Swiss with the Comoy name, the story becomes complex. What is also worth looking at is Pipephil’s (Document: The Chapuis-Comoy factory — Pipes: Logos & Markings) posting of a very helpful timeline starting in 1922 when the Chapuis-Comoy society was established. The following information is given for the 1922 entry:
1922
This date corresponds to the Chapuis-Comoy society establishment. But it is rooted in the end of the 19th century, and its origin is indissociable from two branches of a unique family. Henry Comoy (1870-1924) was a pipe maker established in Saint Claude prior emigrating to London where he started the “H. Comoy & Co Ltd”. He convinced his Chapuis cousins to form a partnership with him and start a factory in Saint Claude. That’s how was born “Chapuis-Comoy & Cie”.
Pipephil also references the Comoy brand being taken over by the Cadogan Investments in the early 1980s (Comoy — Pipes : Logos & Markings) which usually is considered a period when the quality of Comoy’s pipes diminished.
The Pipedia Comoy’s article did not mention the Tradition line directly, but the line, Tradition, is described in undated period catalog pages which I always like. They add the vintage feel to the pipes on the worktable. I like the description of the Tradition line in the first page:
Like all Comoy’s first quality pipes, the Tradition – both the bowl and the mouthpiece – is entirely hand fashioned by master craftsmen.
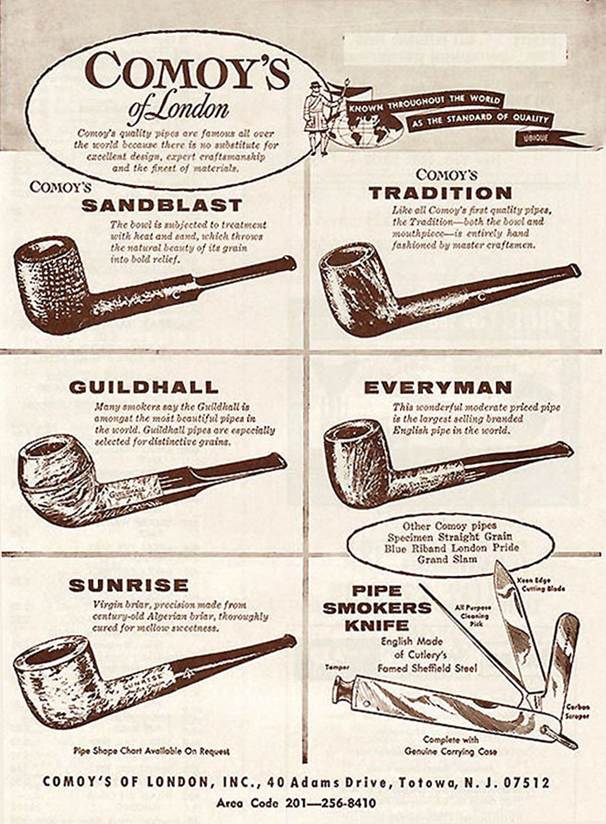
In the following ad, we also have a Comoy’s Tradition Bulldog described with the shape number 4. The difference I see with our #3 Bulldog is a straight tapered stem with the #4 having a saddle stem.
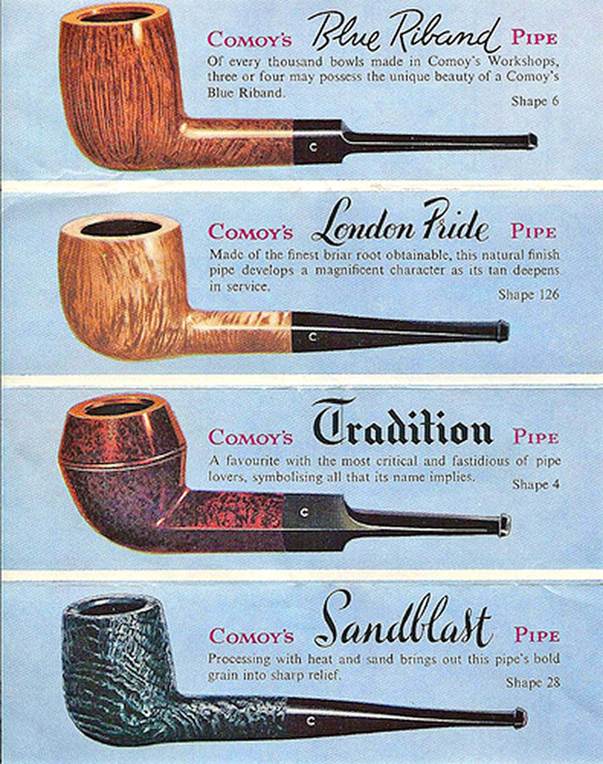
A quick look at Pipedia’s Comoy’s Shape Number Chart (Comoy’s Shape Number Chart – Pipedia) provides additional information on a number of Bulldogs. The shape 4 above is confirmed to be a saddle stem ‘(S)’ but it is described as Large versus our Medium sized Bulldog with a tapered stem.

Regarding the dating of our Comoy’s Tradition, the ‘C’ stem logo is a key marker. This is from Pipedia’s Dating Guide (Comoy’s Dating Guide – Pipedia):
Inlaid “C”
“C” was first inlaid in the side of the mouthpiece around 1919. This was a complex inlay needing three drillings. First, a round white inlay was inserted, then the centre of the white was drilled out, and a smaller round black inlay was inserted. Finally, another drilling was made to remove the open part of the “C,” and an even smaller black inlay was inserted. This inlaid “C,” known as the “three-piece C,” was continued until the Cadogan era in the 1980s. However, the “C” in the 1920s and early 30s is much thinner and more delicate than the one post-WW II.
Cadogan first changed the “C” to a single drilling with an inlay that had the “C” in the centre, and more recently it became a laser imprint.
There are known pipes, for example an early 1920’ “Par Excellence” where the “C” is on top of the mouthpiece.

The example provided for the “three-piece C” above matches ours which I did not see initially. When I looked more closely at our stem with the reflection helping to see through the thick oxidation, the small black circle can be seen. This information creates the late bracket for this pipe in the early 1980s before Cadogan changed to a single inlay C. This C definitely increases the collectability of this earlier Comoy’s.
With the late bracket being the early 1980s, I discovered the early bracket from the COM design. The following is from the same Pipedia article:
Made in London England
Appears in two versions. This is again stamped in a circle with “MADE” at the top, “IN” in the middle, and “LONDON” at the bottom, with “ENGLAND” in a straight line beneath. It can be assumed that this stamp was first used in the export drive in the early 1950s. On a Bulldog Sandblast from the early 50s the Comoy name no. 2 above was used together with “MADE IN LONDON” over “ENGLAND”. There are no known examples of pre-WW II Comoy’s stamped in this way. The second version is the same as above but in a “rugby ball ” shape. This shape is verified on Comoy´s “Extraordinaire” pipes.
Our COM is the circle design described as most likely starting in the early 1950s. This would complete the dating bracket for our pipe being pre-Cadogan dating from the early 1950s to the early 1980s. I would guess that our pipe, based on the patina and grain was produced on the earlier side of the brackets – 1950s/60s, but this is only my guess.
With a better appreciation of the Comoy’s Tradition on the worktable, it’s time to look at the pipe itself. The chamber has medium cake buildup which will be cleaned allowing an inspection of the briar.
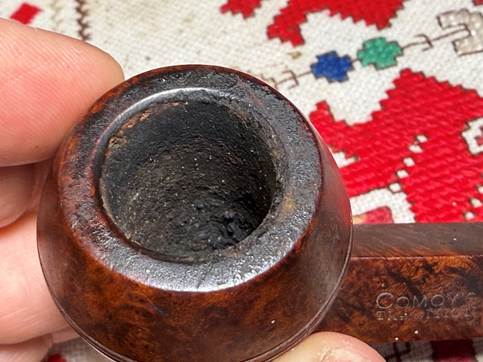
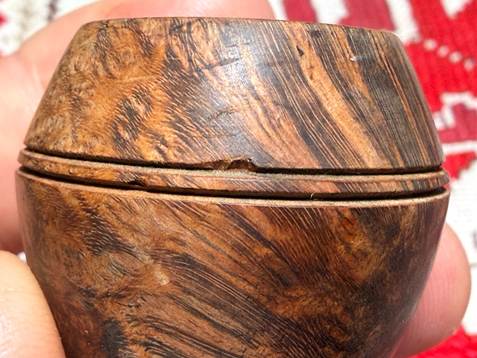
There are significant dents on the right rear side of the dome. There is also a very small chip on the upper edge of the dome grooves which needs to be addressed.

There are small scratches over the bowl surface which are from normal wear.

The stem has deep oxidation and tooth chatter on the bit.
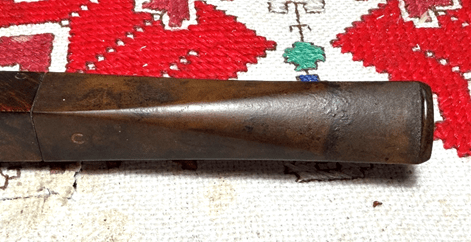

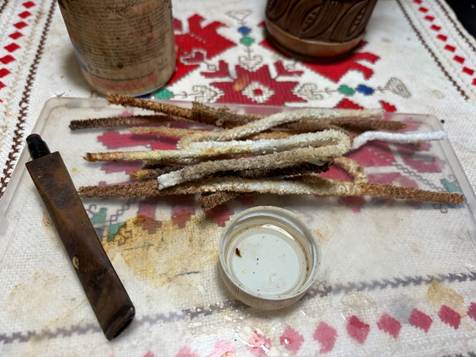
The stem will be the starting point for the restoration of this Comoy’s Tradition. The airway was quite a mess, but several pipe cleaners moistened with isopropyl 99% alcohol did job.
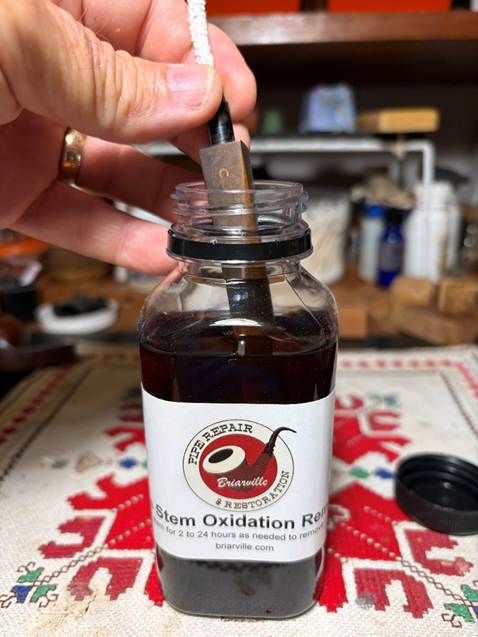
To address the oxidation on the stem, the stem was placed in a soak for several hours of Briarville’s Pipe Stem Oxidation Remover (www.Briarville.com).
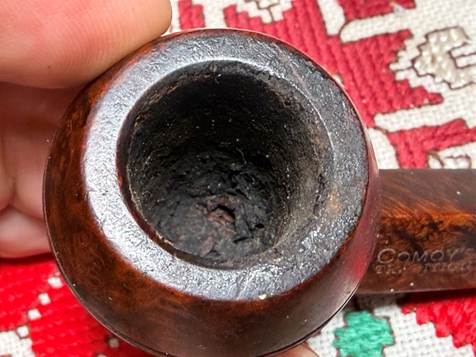
With the stem soaking, attention is turned to the stummel. A starting picture shows the carbon build up in the chamber.
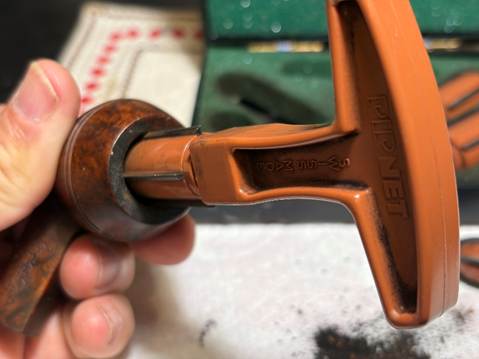
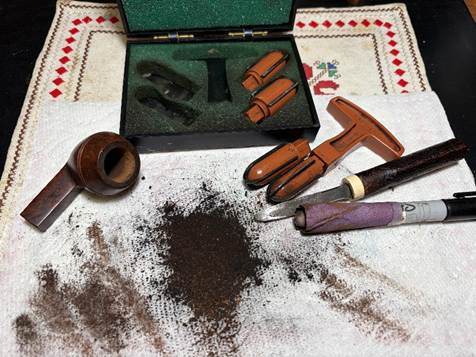
The chamber is reamed with 2 blades from the Pipnet Reaming Kit.
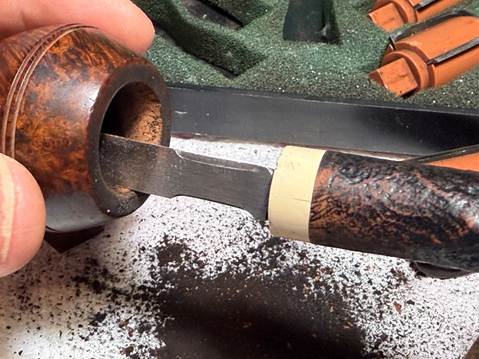
The reaming is followed by scraping the chamber with the Savinelli Fitsall Tool.
Finally, the chamber is sanded with 220 grit paper wrapped around a Sharpie Pen.
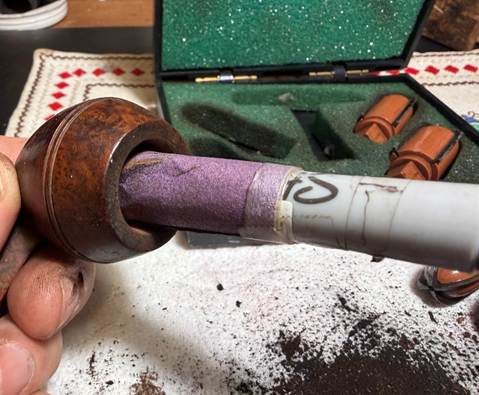
The picture shows the pile of carbon removed from the chamber and the tools used.
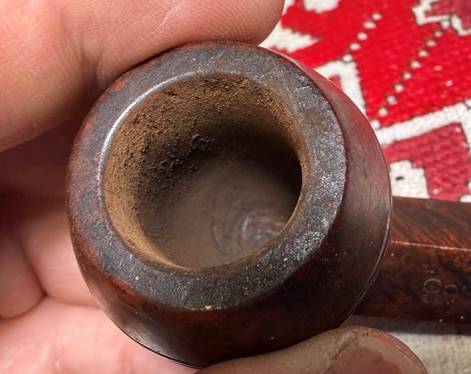
An inspection of the chamber shows healthy briar.
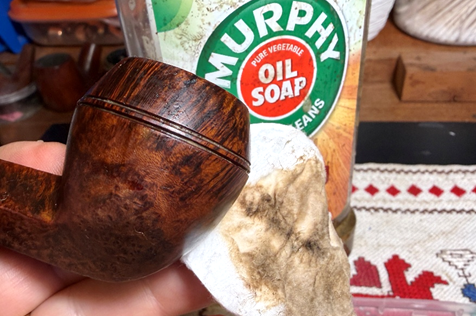
Next, the stummel surface is scrubbed using undiluted Murphy Oil Soap and a cotton pad. The grooves around the dome are also cleaned using a sharp dental probe.
A soft brass brush is used to help clean the rim from the dark lava flow.

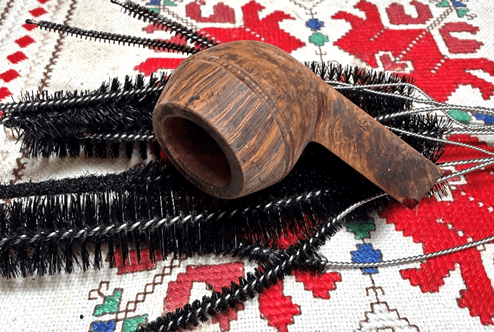
Next, the stummel is taken to the sink where the internals are scrubbed using hot water, shank brushes and anti-oil liquid dishwashing soap. After scrubbing, the stummel is rinsed thoroughly and returned to the worktable.
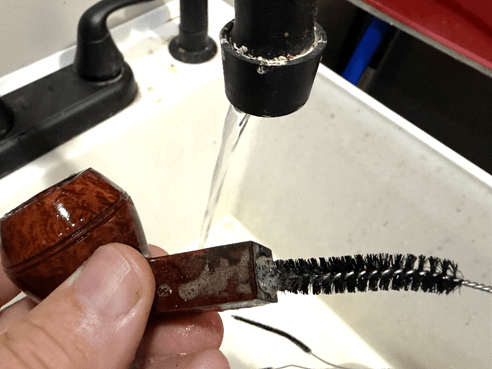
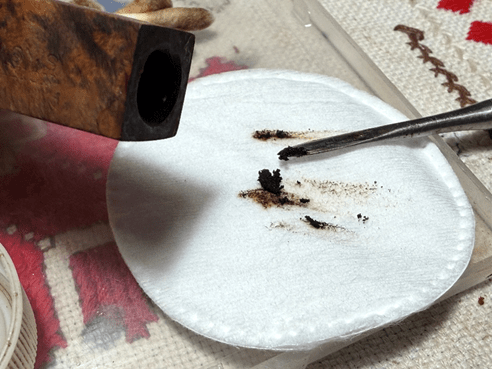
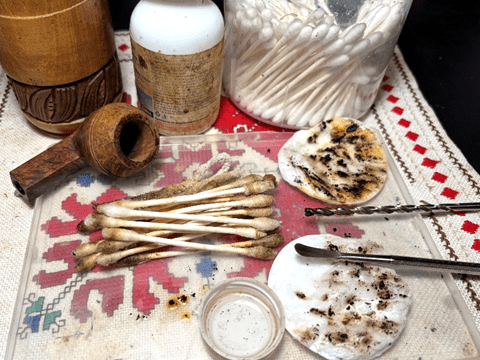
Cleaning continues on the internals with cotton buds, pipe cleaners and isopropyl 99% alcohol. With how grungy the stem airway was, it was no surprise that the internals of this Comoy’s would be a challenge. A small dental spoon is used to begin scraping and digging the tars and oils off the mortise walls. There was a lot….
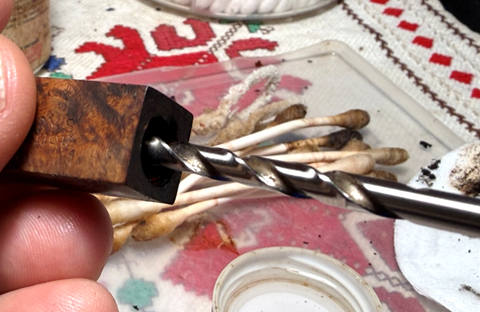
A drill bit the diameter of the airway is used to scape the airway. The gunk is caught by the threads as the bit is rotated and moved back and forth in the airway.
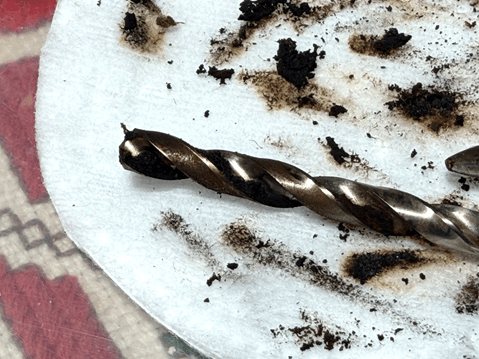
Ugh…. It took quite a bit of effort but the buds finally started to emerge lighter. Later, to make sure the internals are clean and refreshed, the stummel will be given a kosher salt and alcohol soak.
With the basic cleaning finished, next is addressing the chip on the upper groove. It’s very small but it gets my attention and it needs patching.
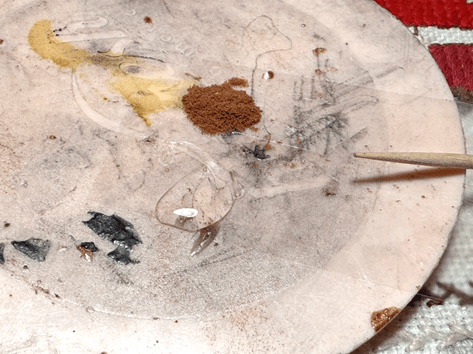
Briar putty is what will be used to patch the chip area. Using small amounts of CA glue and briar dust on the mixing palette, the dust is mixed into the glue with a toothpick. As more dust is pulled into the mixture it thickens. When it is thick enough so that a bit will hang on the toothpick without dripping, it is ready to be applied. Only a small amount is needed.
After applying a small amount to the patch area and before the putty sets up, the edge of a flat dental spatula is run through groove to remove any patch material.
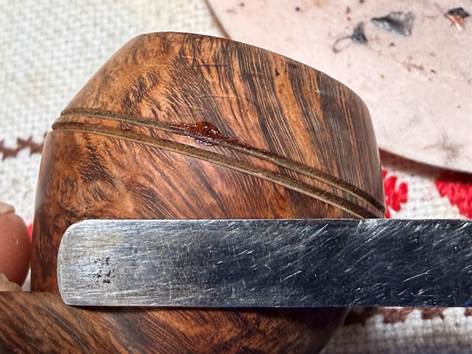
The stummel is then put aside allowing the patch to cure.
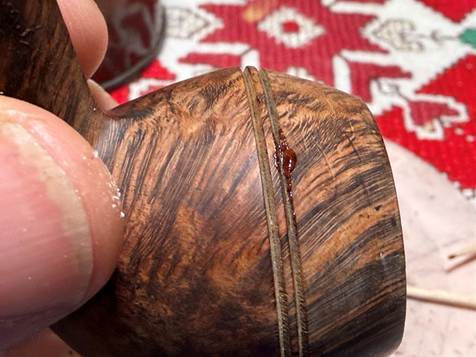
After the patch material has cured, 320 grit paper is run through the groove to sand away and shape the patch material.
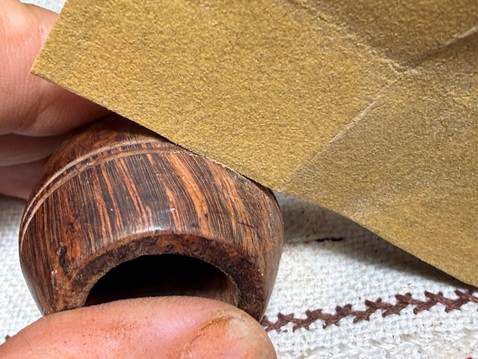
I like this much better. The chipped area is now filled in, and one wouldn’t know there was a chip. Next, it’s time to address the scratches visible on the briar surface.
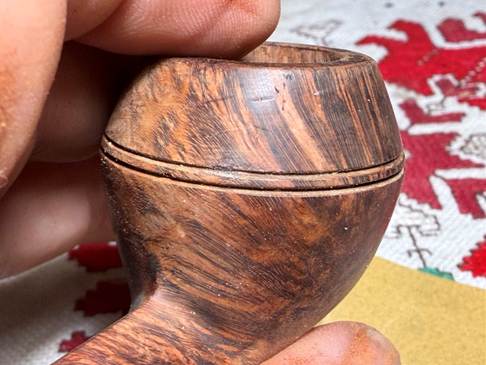
Sanding sponges are used to clean the briar surface of minor scratches and blemishes. Rough, medium, light and fine sponges are used. The nomenclature on the shank panels are not sanded.
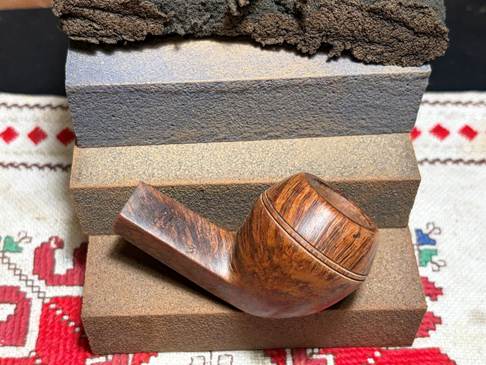
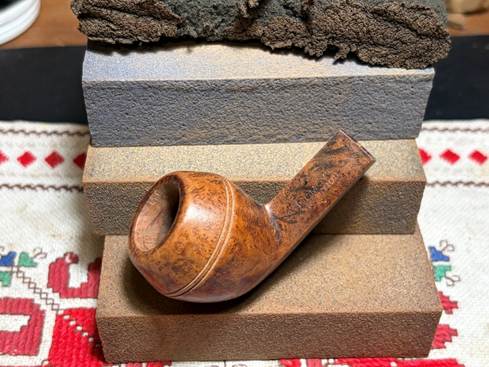
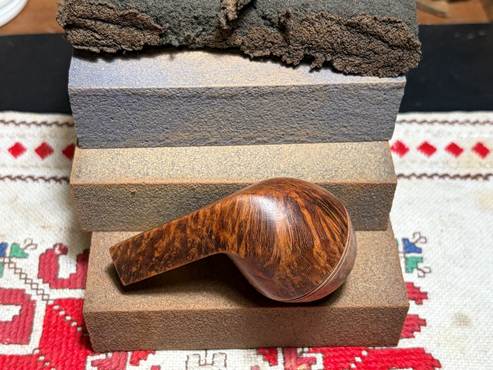
After the sponge sanding, the rim has rounded somewhat. There is also residual darkening around the inner rim from charring that needs addressing.
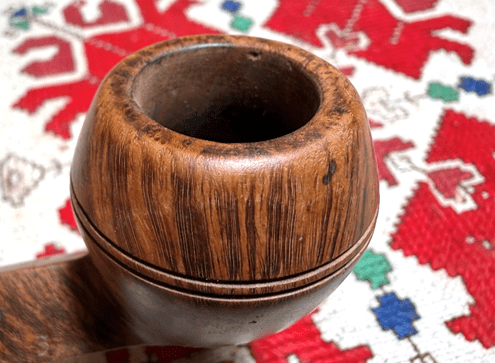
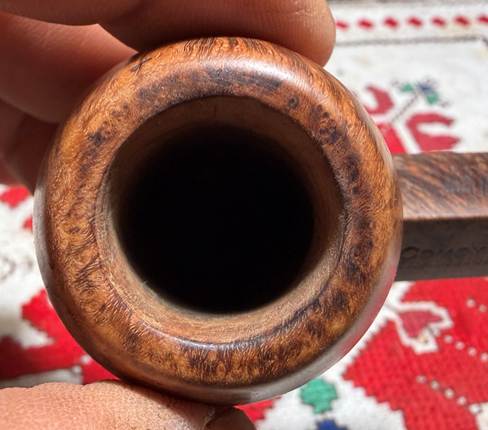
To address these issues the stummel is topped starting with 320 grit paper on the chopping board. With the stummel inverted on the paper, it is rotated several times.

After sanding with the 320 grit paper the rim looks much better. The lines are defined nicely.
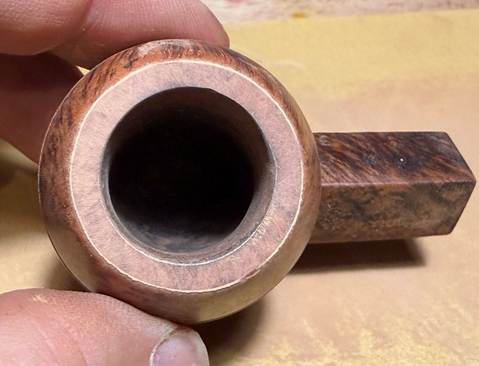
The 320 grit paper is followed by 600 grit paper.

I like how the rim has shaped up. Nice.
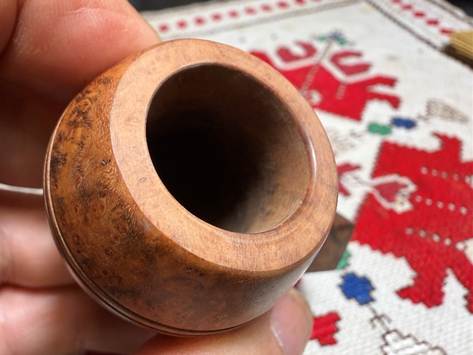
Micromesh pads are applied next. After each pad the stummel is wiped with a moist cloth to remove the briar dust and to improve the traction of the following pad. The first set of 3 pads are grades 1500, 1800 and 2400.
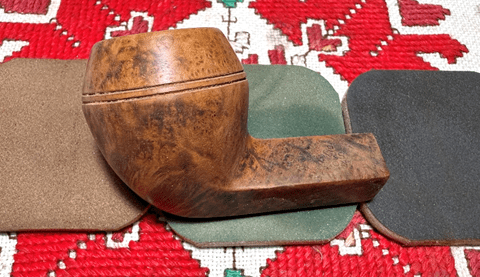
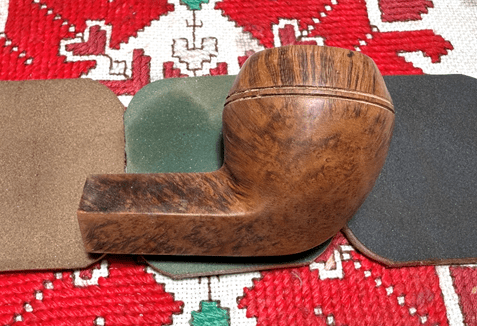
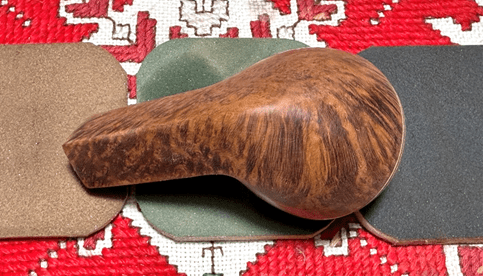
The second set of pads are grades 3200, 3600 and 4000.
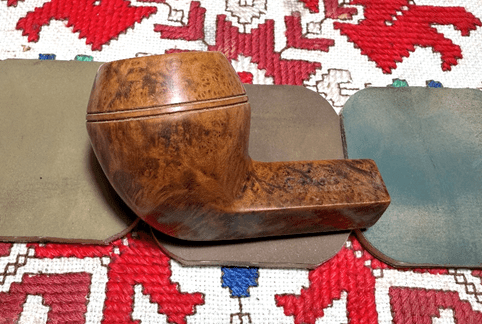
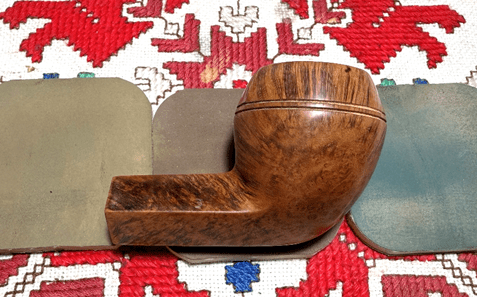
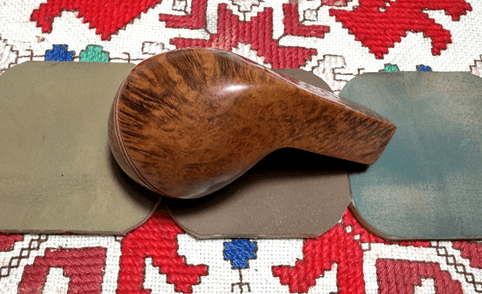
The final set of pads are grades 6000, 8000 and 12000. I enjoy watching the grain emerge during the micromesh process.
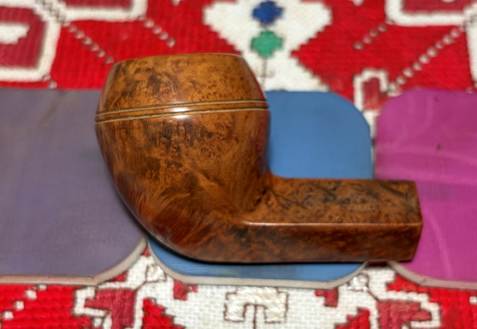
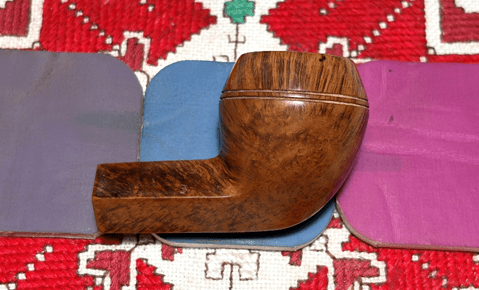
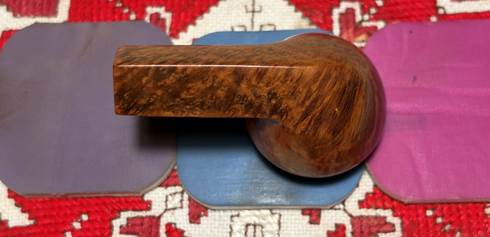
To bring out the natural hues of the briar and to condition the wood, Mark Hoover’s ‘Before & After’ Restoration Balm is used (www.Lbepen.com). I like Mark’s product for how it brings the grain to life. After a small amount of the Balm is placed on the finger, the Balm is worked into the briar. The stummel is then set aside for 10 or so minutes allowing the Balm to be absorbed.
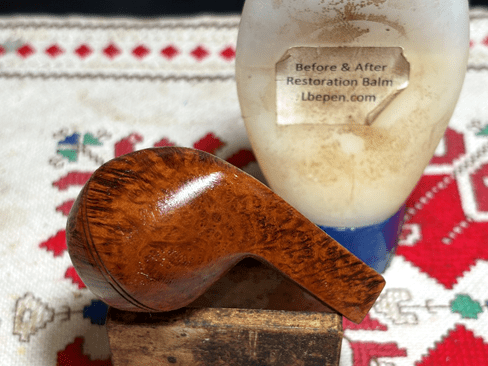
After the time has passed, a dedicated microfiber cloth is used to wipe off the excess Balm and to buff up the surface. I like it.
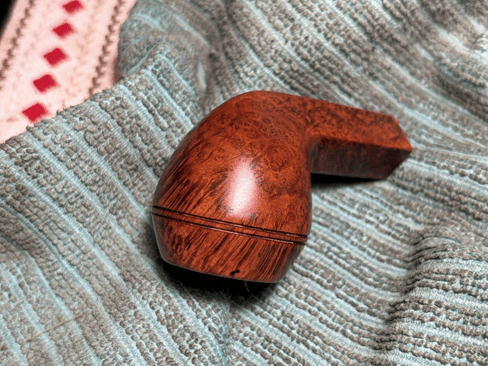
With the stummel now on the side, the stem has been soaking in Briarville’s Pipe Stem Oxidation Remover. When it’s fished out, the stem is rubbed vigorously with paper towel and a cloth to remove the oxidation that was raised on the surface. A pipe cleaner moistened with isopropyl 99% is used to clean the airway of the fluid.

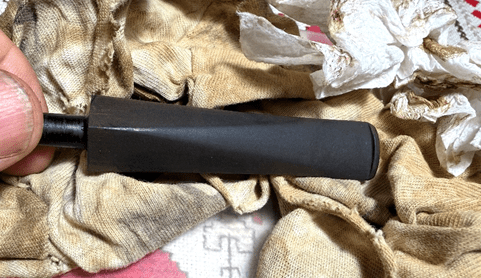
Unfortunately, a part of the C stem logo came off during the soak. I’ll address mending this later.
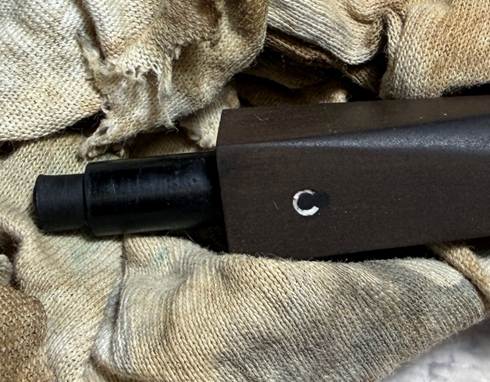
The stem bit has some fine tooth chatter which should sand out easily.
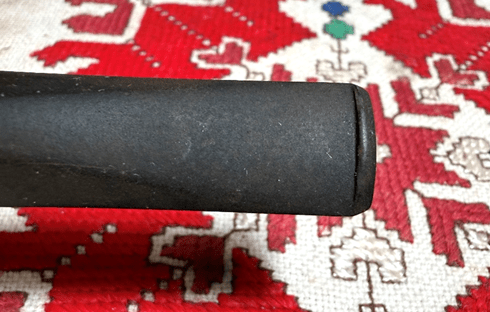
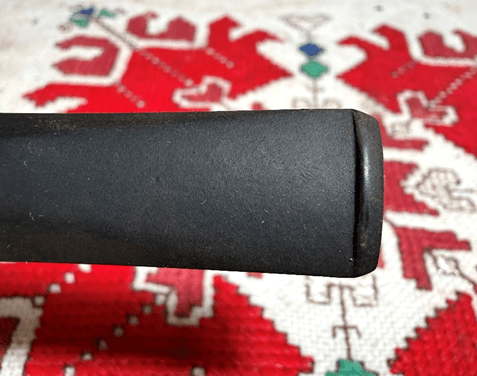
The entire stem is sanded with 220 grit paper. The shoulder guard is used to guard against rounding off the shank facing edges during the sanding.
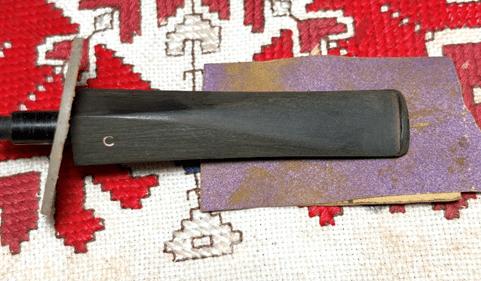
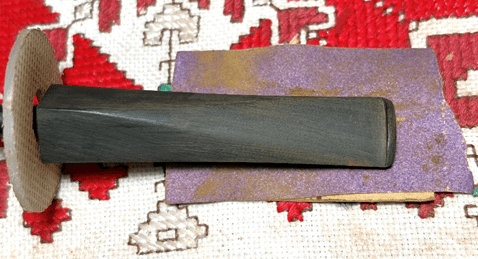
The 220 paper is followed by using 320 grit paper with the shoulder guard.
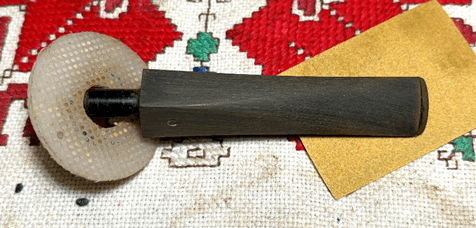
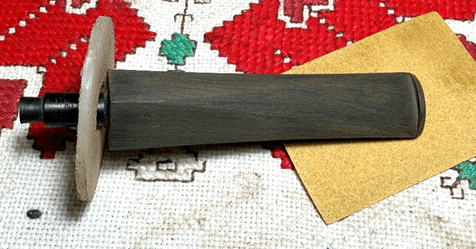
The stem is next taken to the utility sink and wet sanded with 600 grit paper and then 0000 grade steel wool is applied.
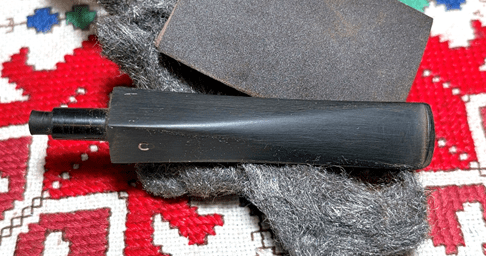
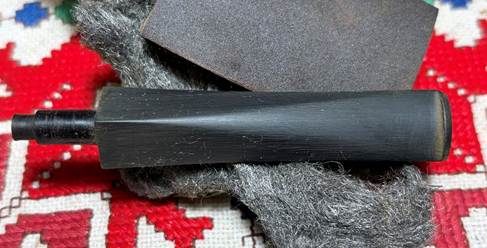
Next, the full regimen of 9 micromesh pads are applied to the stem. To guard against oxidation and to condition the stem, a small amount of Obsidian Oil is applied between each pad. The first set of 3 pads are grades 1500, 1800 and 2400.
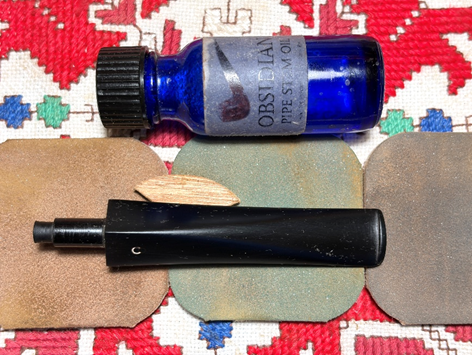
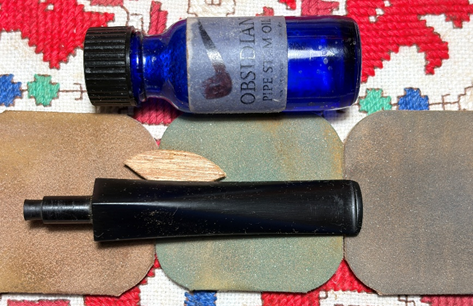
The second set of 3 are grades 3200, 3600 and 4000.
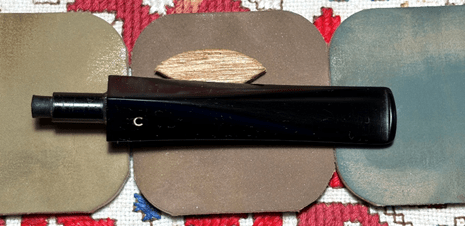
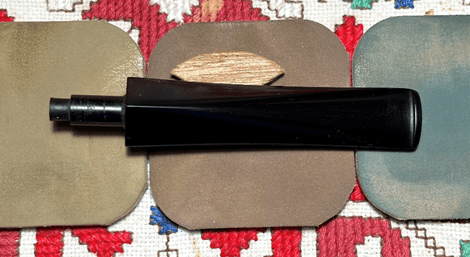
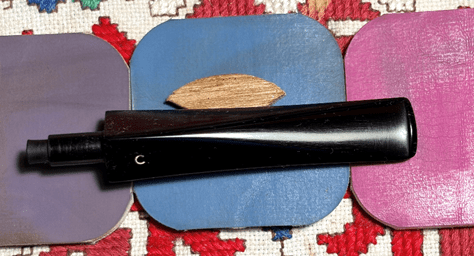
The final 3 pads are grades 6000, 8000 and 12000. I love the glossy sheen that emerges during the micromesh process.
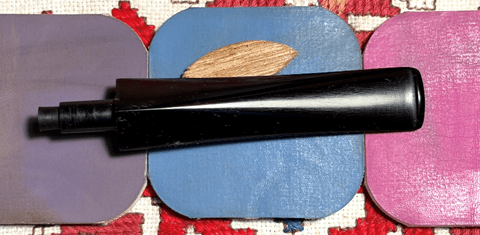
I had noted earlier that that some of the Comoy’s ‘C’ stem logo had come off during the oxidation soak. Looking straight on, it’s difficult to see the problem.
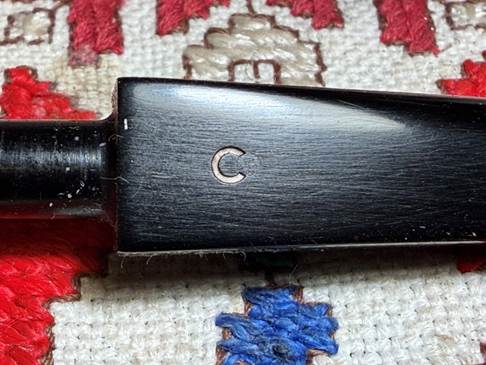
Yet, looking from the side a small ledge is visible where the surface of the C came off.
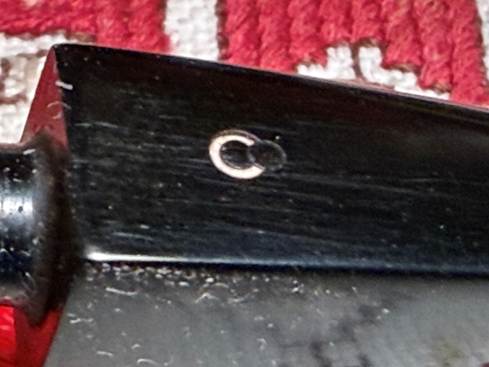
I decided not to over think this issue and treat this stem logo like many other white logos that need refreshing. Using a white matte acrylic paint, a small amount of paint is applied over the C.
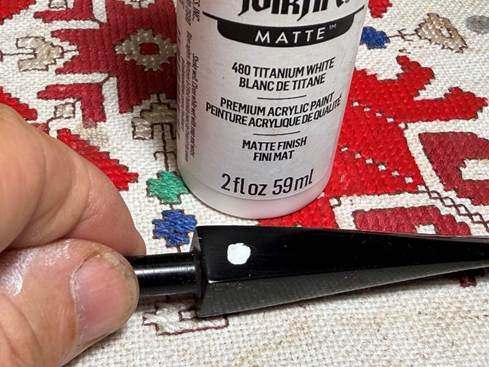
The dollop of paint is then daubed with a cotton pad. This removes excess paint and quickens the drying process so that the paint sets up and hardens.
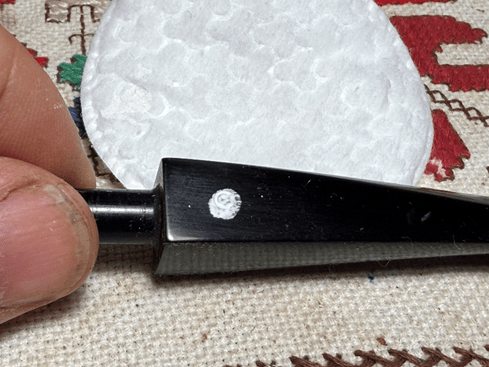
The logo area is then scraped using the side of a toothpick to remove the excess paint.
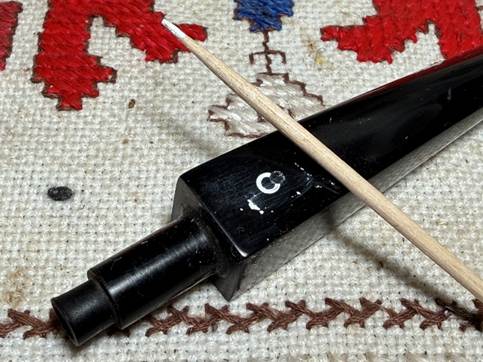
After wiping the C with a paper towel, the logo looks as good as new. Not bad 😊.

As I mentioned earlier, the internal cleaning will continue with a kosher salt and alcohol soak. This more passive form of cleaning helps to refresh the briar and remove any ghosting. First, a cotton ball is pulled and twisted to form a wick. The wick helps to draw out the tars and oils from the briar.
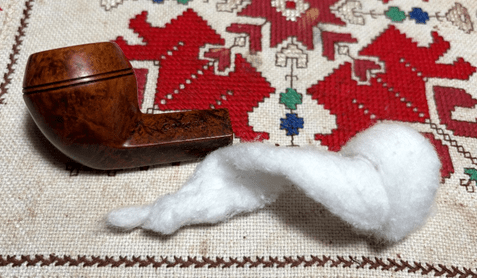
With the help of a stiff wire, the wick is guided through the mortise to the airway and out the draft hole.
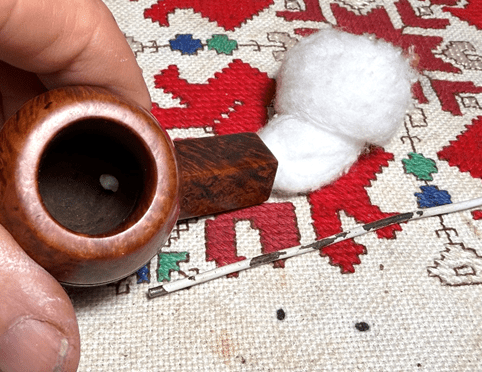
Next, kosher salt is used to fill the bowl. Kosher salt is used because it has no aftertaste, unlike regular iodized table salt. The chamber is next filled with isopropyl 99% alcohol until is surfaces over the salt.
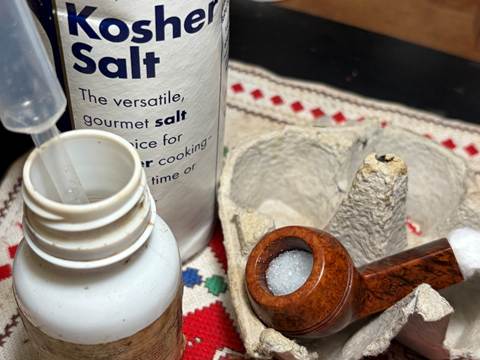
After about 10 minutes, the alcohol has been absorbed and again is topped off. The stummel is set aside to allow it to soak through the night. And with that, my lights go off!
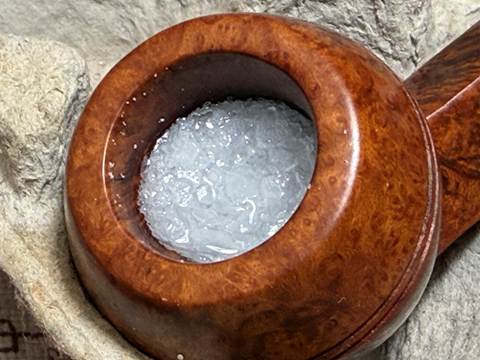
The next morning, the salt has soiled very little – the same with the wick.
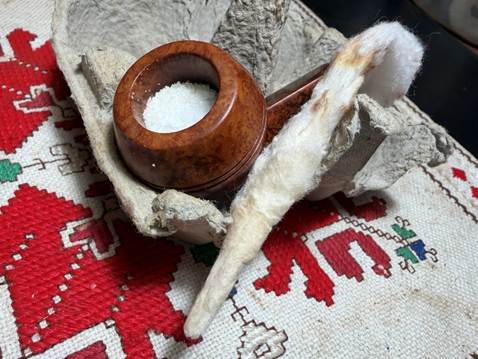
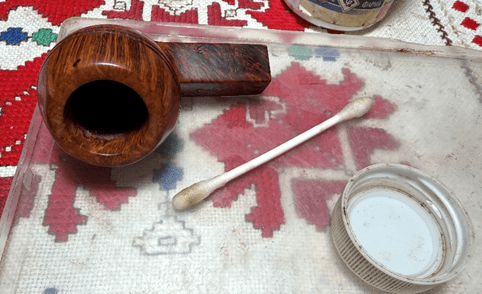
After the salt is removed and cleared from the chamber, one cotton bud confirms that the pipe internals are clean. A whiff test also is good.
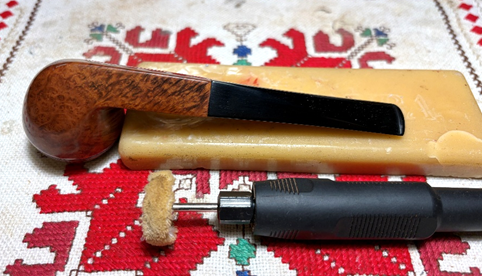
After the cleaning, the stem and stummel are reunited. After a dedicated cotton cloth buffing wheel is mounted onto the rotary tool, the speed is set at about 40% full power. Blue Diamond compound is then applied to both stem and stummel.
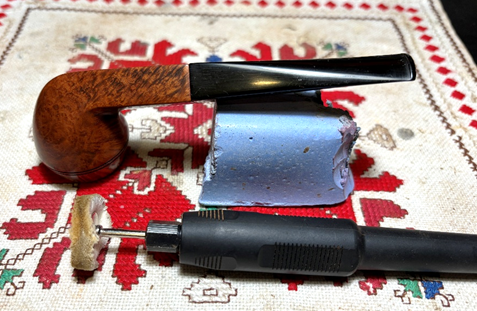
The compound creates a lot of dust and can be caked onto the briar surface. To clear this and to prepare the surface for the wax, a felt cloth is used to wipe down the surface. A toothpick is also used to clear the Bulldog grooves of compacted compound.
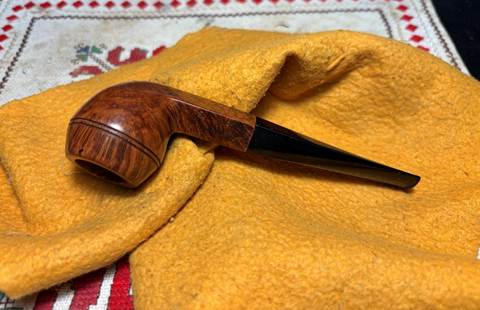
With another dedicated cotton cloth buffing wheel mounted with the speed the same, carnauba wax is applied to the pipe. After applying the wax, the pipe is given a rigorous hand buffing to remove excess wax and to raise the shine.
My, oh my! The natural grain has come out beautifully on this shape 3 Comoy’s Tradition. The grain is presented vertically, in swirls and bird’s eye patterns. I mentioned earlier that the feel of this Bulldog makes me place the dating within the earlier decades of the Tradition production. What stands out to me about this pipe is how the diamond shank lines transition into the tapered diamond stem. The ‘3-piece C’ is vintage frosting on the proverbial cake. Stephen commissioned this Comoy’s and will have the first opportunity to claim him from the Pipe Store. A portion of the proceeds of all pipes restored help to support the Daughters of Bulgaria, now called Spring of Hope.’ A ‘before’ picture helps us to remember how far we’ve come. Thanks for joining me!